 The contents of a picture frame – including the glass/mountboard/artwork/backing board “sandwich” – is commonly secured into the back recess of a picture frame using picture framing tabs and points. The points can be manually pushed in with a screwdriver (certainly an easier task with a soft wooden moulding), or pushed in with a point fixing tool, or can be fired in with point drivers (tab guns).
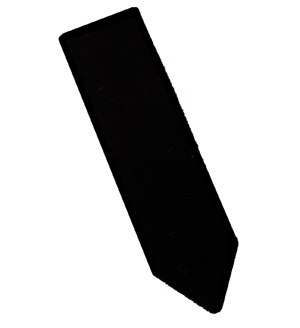
The tabs and points themselves come in a variety of styles (triangular, narrow with a point), sizes and rigidity (flexible, semi-rigid, rigid). The more rigid points won’t bend easily and will help to securely hold the contents of a frame in place (in conjunction with a brown frame backing tapes). Flexible points/tabs can be bent (without removal of the tabs from the frame) which allows easy access to the contents of a frame (say to change the artwork, mount or remove some dust), before bending the points flat again to re-secure the contents.
 Point drivers are a fast way to drive points into the rebate at the back of the picture frame and are a must-have tool for any framer from a keen hobbyist to a small workshop based framing business. Some industrial point drivers can be pneumatic but are larger and designed for larger volume production environments.
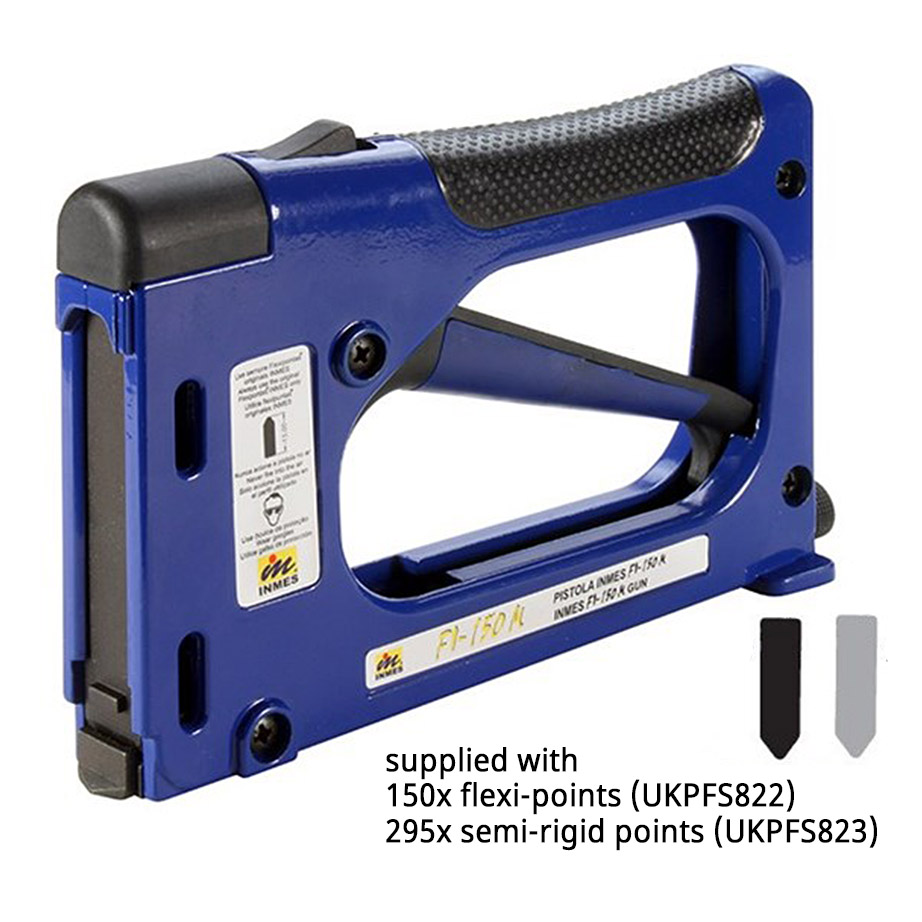
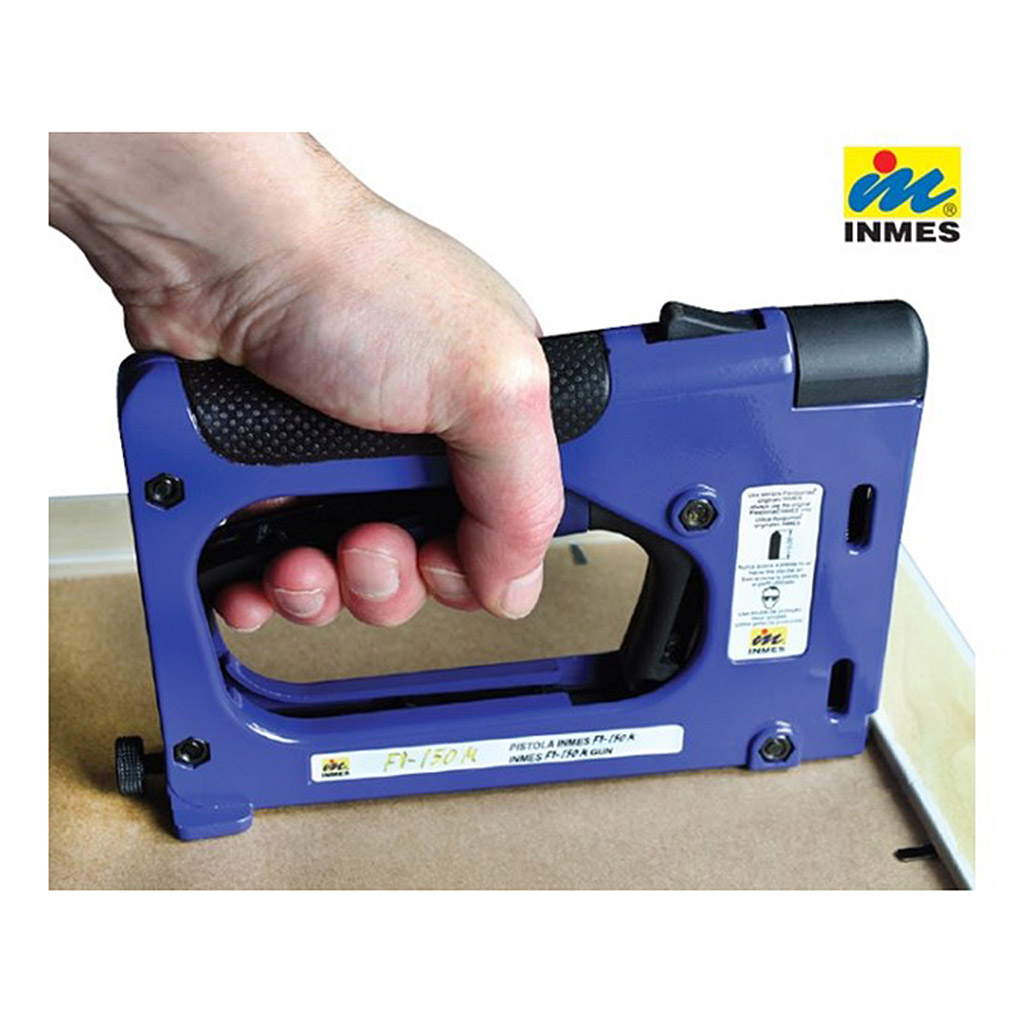
Handheld point drivers are spring-loaded, easy to set up and fired by pulling the hand trigger which drives a point into the side of the frame rebate. Complete frames can be secured with multiple points driven in around the frame in an operation that can often be achieved in under one minute.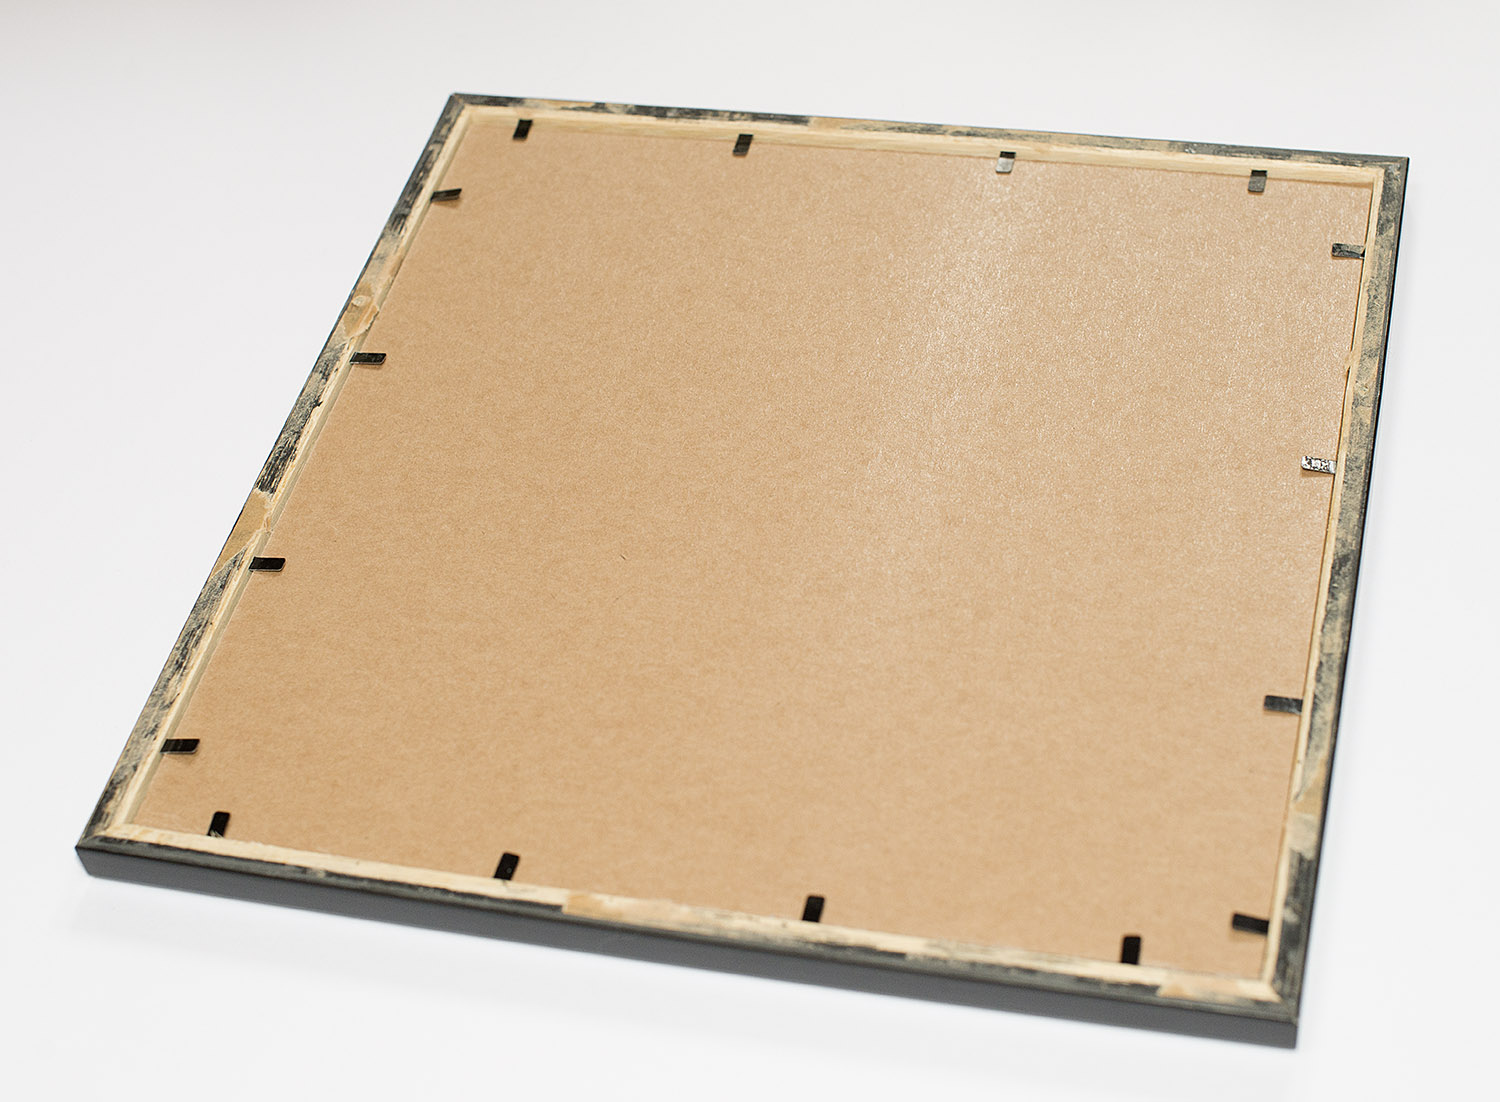
The Inmes Fi-150M Point Driver is one such manual points driver. It takes 15mm long flexi-points/tabs (UKPFS822) or semi-rigid points/tabs (UKPFS823). It has a sturdy die-cast body, with a soft grip handle, easy front loading and adjustable firing pressure to suit different hardnesses of woods.
You can buy an Inmes Points Driver with some sample points from us here.


