Picture rails offer an easy way for you to hang pictures on a wall without the need for creating screw or nail holes for picture hooks. This can be useful when you want to frequently change the picture frames that are on display.
Picture rails can be made from wood, plaster and metal. Traditionally they are found in older properties with high ceilings.
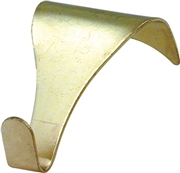
Picture Rail Hooks are the most common method used for hanging a picture from a picture rail. The hooks come in a variety of sizes, styles and colours, but all generally do the same thing ie. provide an attachment hook for a cord, wire or cable to drop down for a frame to be attached to. Picture rail contours can vary so each will have a picture rail hook that work best with it in terms of size and shape.
How to hang a picture frame from a picture rail with a picture rail hook
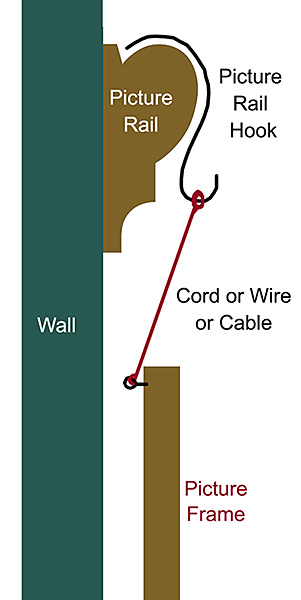 The diagram on the left shows how to hang a picture frame from a traditional style picture rail. The dimensions in the vertical direction have been compressed for indicative purposes. In reality the cord or wire can run much further down the wall.
A picture rail hook used with the picture rail allows you to create a suspended hook from the picture rail where you can attach a cord, wire or cable to. (The larger hooked end of the picture rail hook goes over the picture rail).
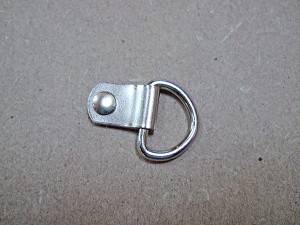
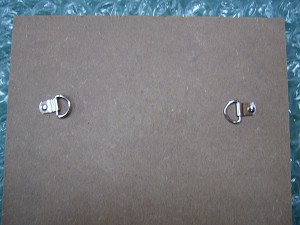
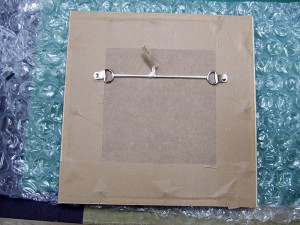
The suspended cord, wire or cable then attaches to the rear of the picture frame. This can be done using D-Rings or simple Screw Eyes screwed into the rear of the frame allowing the picture frame to be securely held.
Attachment of the cord closer to the top of the frame will hold the frame flatter to the wall which is good if the pictures will be displayed at eye level. Attachment of the cord closer to the middle of the frame will cause the frame to tilt forward, which is good if the pictures are to be hung above eye level.
There are different ways to suspend your picture frame from a picture rail with cord or wire. The following diagram shows a few of these alternatives –
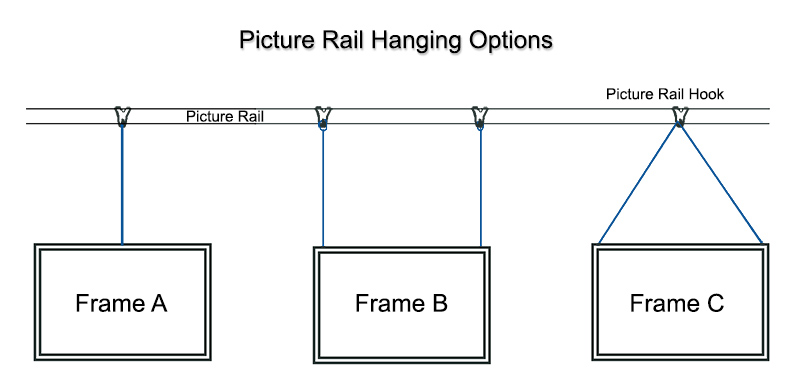 The choice can come down to aesthetic appearance, but lets discuss the merits of each method –
Frame A : Would likely require the frame to have a picture cord or wire strung between both sides of the frame with D-Rings or alternatively have some type of hanger attached at the top edge of the frame (could increase bowing of that frame edge). This option may prove difficult to hold position on the wall ie. it may need to be adjusted/straightened quite a lot. Another point to note is that the whole weight of the frame is placed onto one picture rail hook.
Frame B: This method has a more evenly distributed load over two points on the picture rail and picture frame. This method of hanging would likely require some adjustable secure hangers attached to the back of the frame and used in conjunction with the picture wire, cable or suspenders in order to fine tune position and straighten the picture. The whole weight of the frame will be evenly distributed between the two picture rail hooks as well as two points on the frame.
Frame C: This method is by far the easiest option to use. It has only has one connection with the picture rail, but allows easy adjustment of the angle that the frame hangs at. Only one length of cord or wire is used, with no requirements for knots or loops on the picture rail hook. However, the whole weight of the frame is placed on one picture rail hook. The cord can be attached to each side of the frame back with Screw Eyes or D-Rings.
Picture Rail Hooks and Accessories can be found here

