 This how to guide shows how you seal and finish the back of a picture or photo frame prior to hanging or selling.
The purpose of finishing the back of a frame is to –
- Seal it to prevent dust, mites and damp from entering the mount/artwork/under the glass
- Make it appear professional and neat to the eye
- Provide hanging points to hang the picture
- Provide stability from motion and wall protection
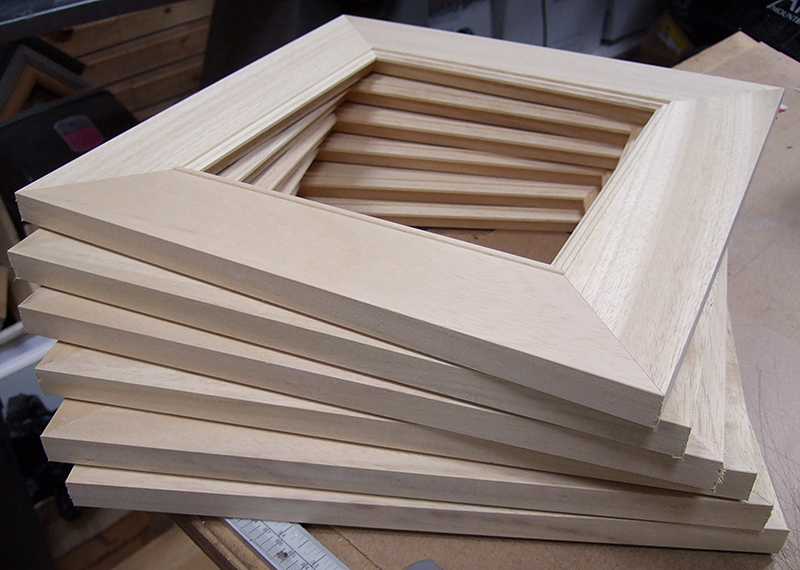
The assumption in this article is that you already have a picture frame either custom made or pre-made with glazing, mount and backing board cut to size and attached. The backing board should also be able to provide some degree of moisture protection eg aqua board or similar.
Equipment Required –
- Bradawl
- Screw Driver (Pozi)
- Craft Knife
- Tape measure or steel rule
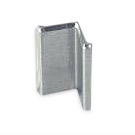
- Framers points/tabs
- D-Rings
- Picture cord or wire
- Frame backing tape
- Felt pads or bumpers
The methodology for finishing the back of a picture frame is as follows –
Step 1 :
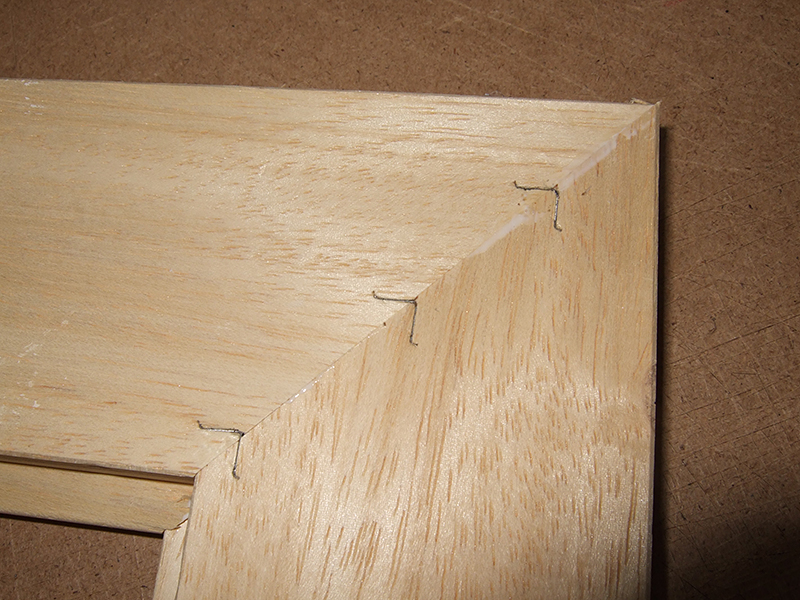
Secure the backing board, mount, artwork, and glazing ‘sandwich’ in to frame rebate with flexi points, semi rigid points or other similar framer’s points and tabs. these can be fired in with a tab gun or manually pushed in.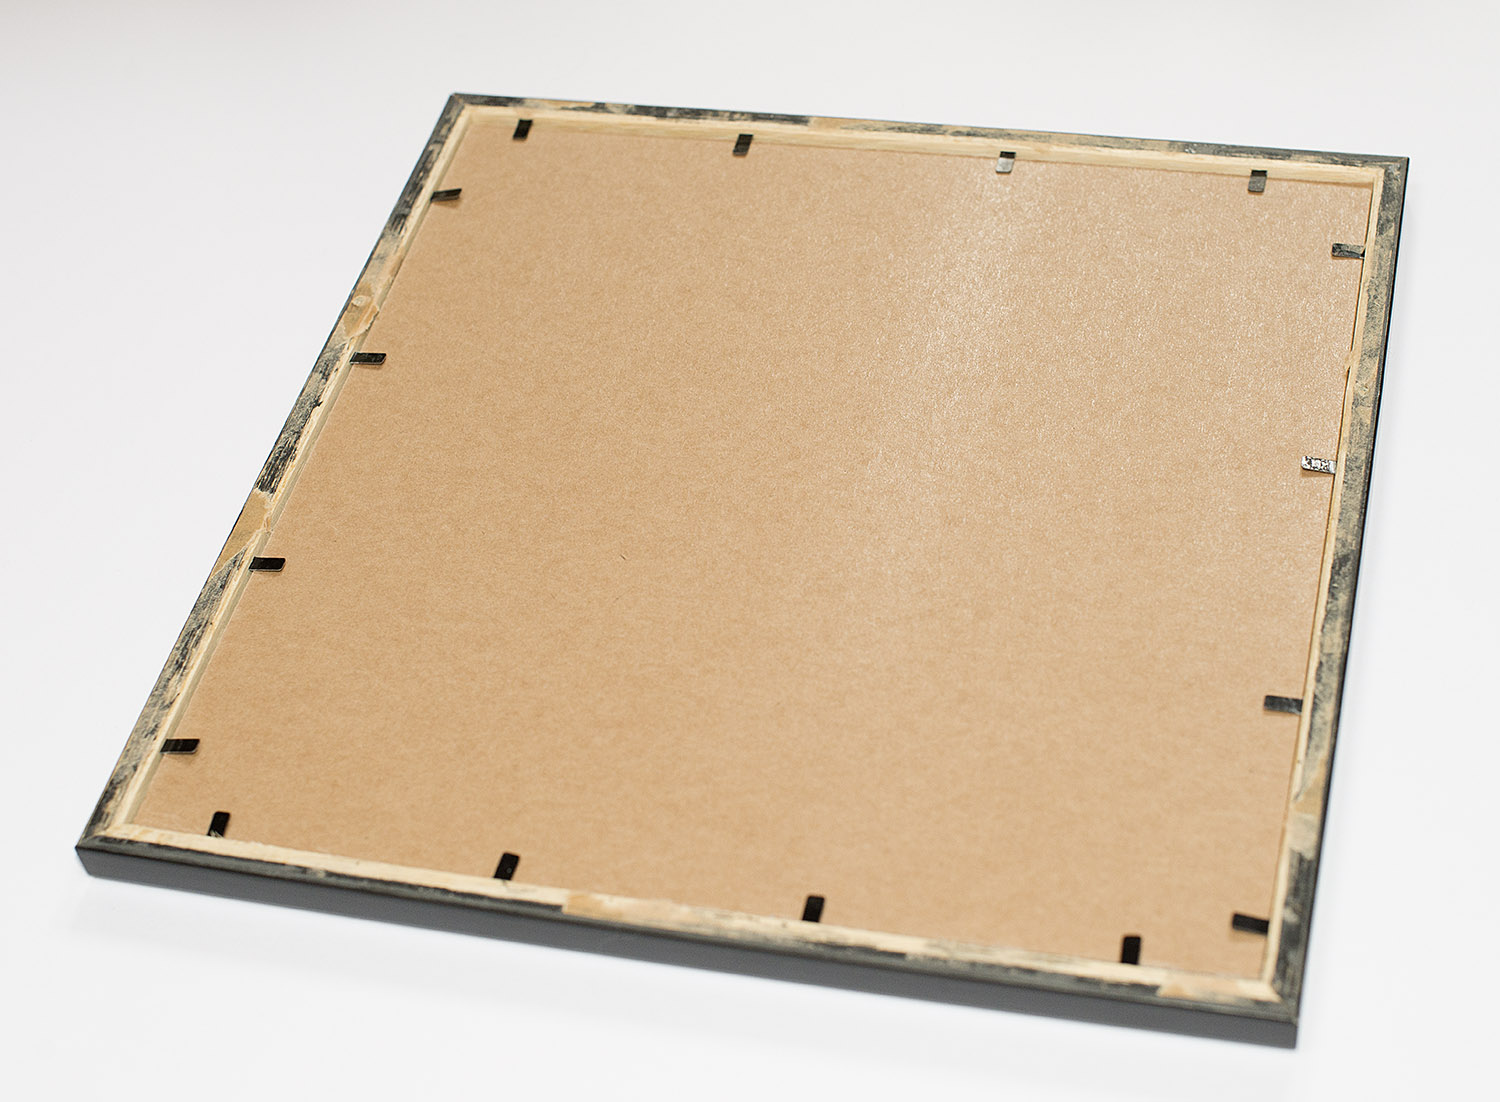
Step 2 :
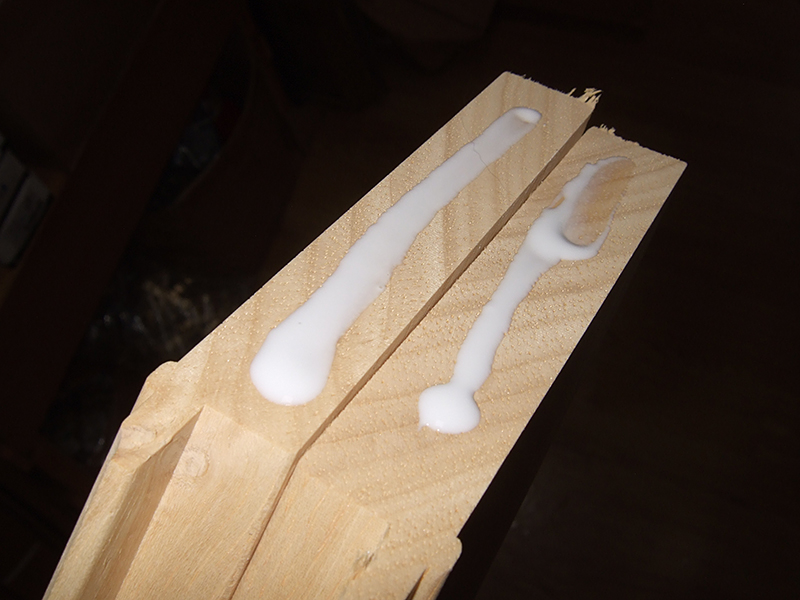
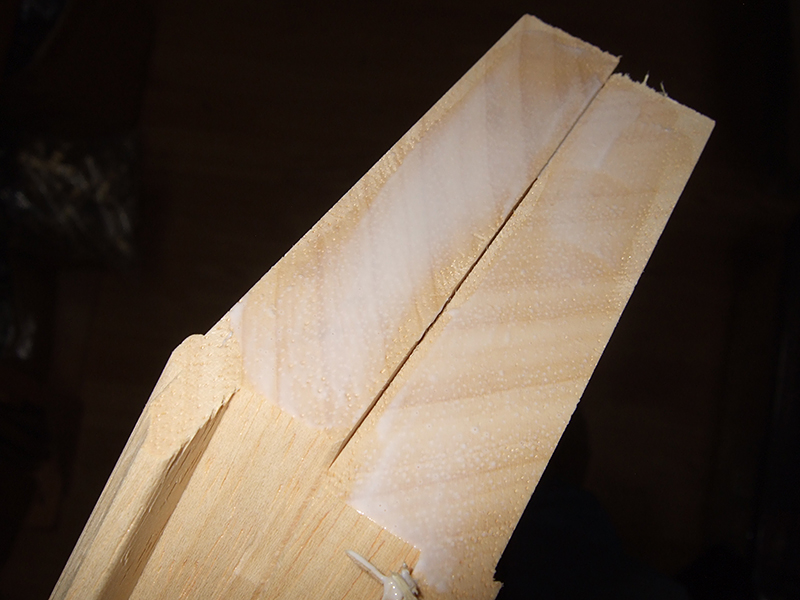
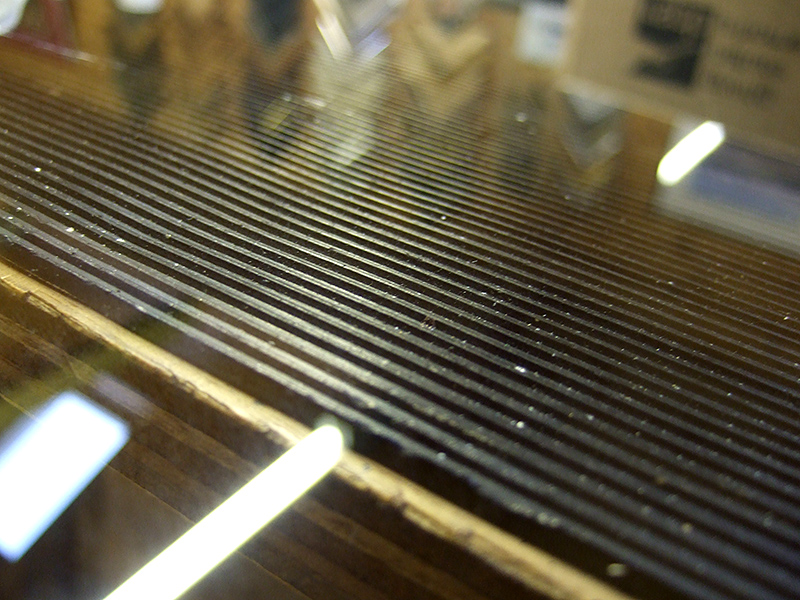
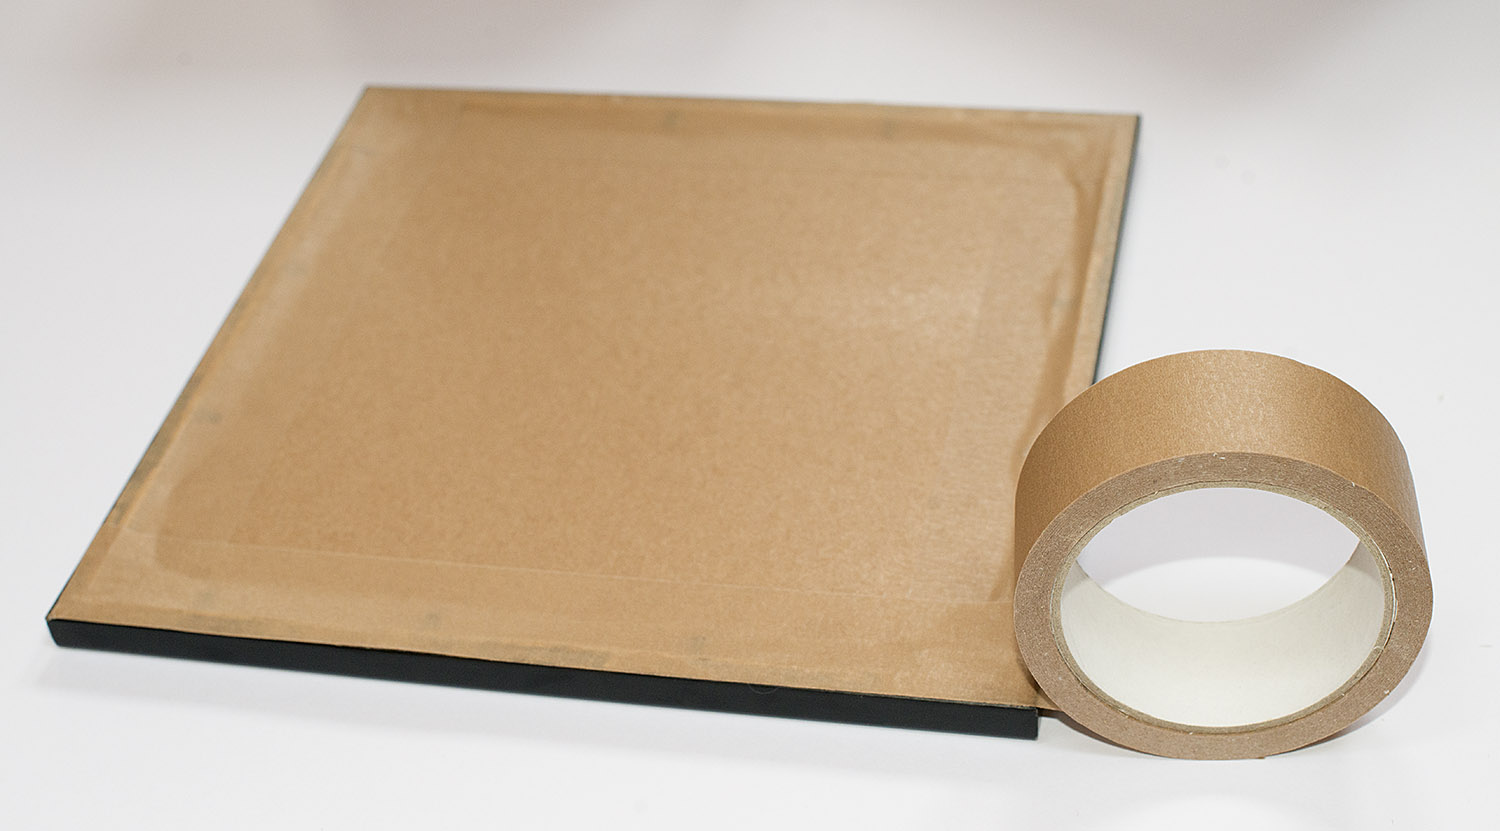
Use a picture frame backing tape like self adhesive ECO-15 or ECo-25 tape on each edge to make the dust seal. Trim the tape with a craft knife after completing each side, being careful not to damage the side of the frame.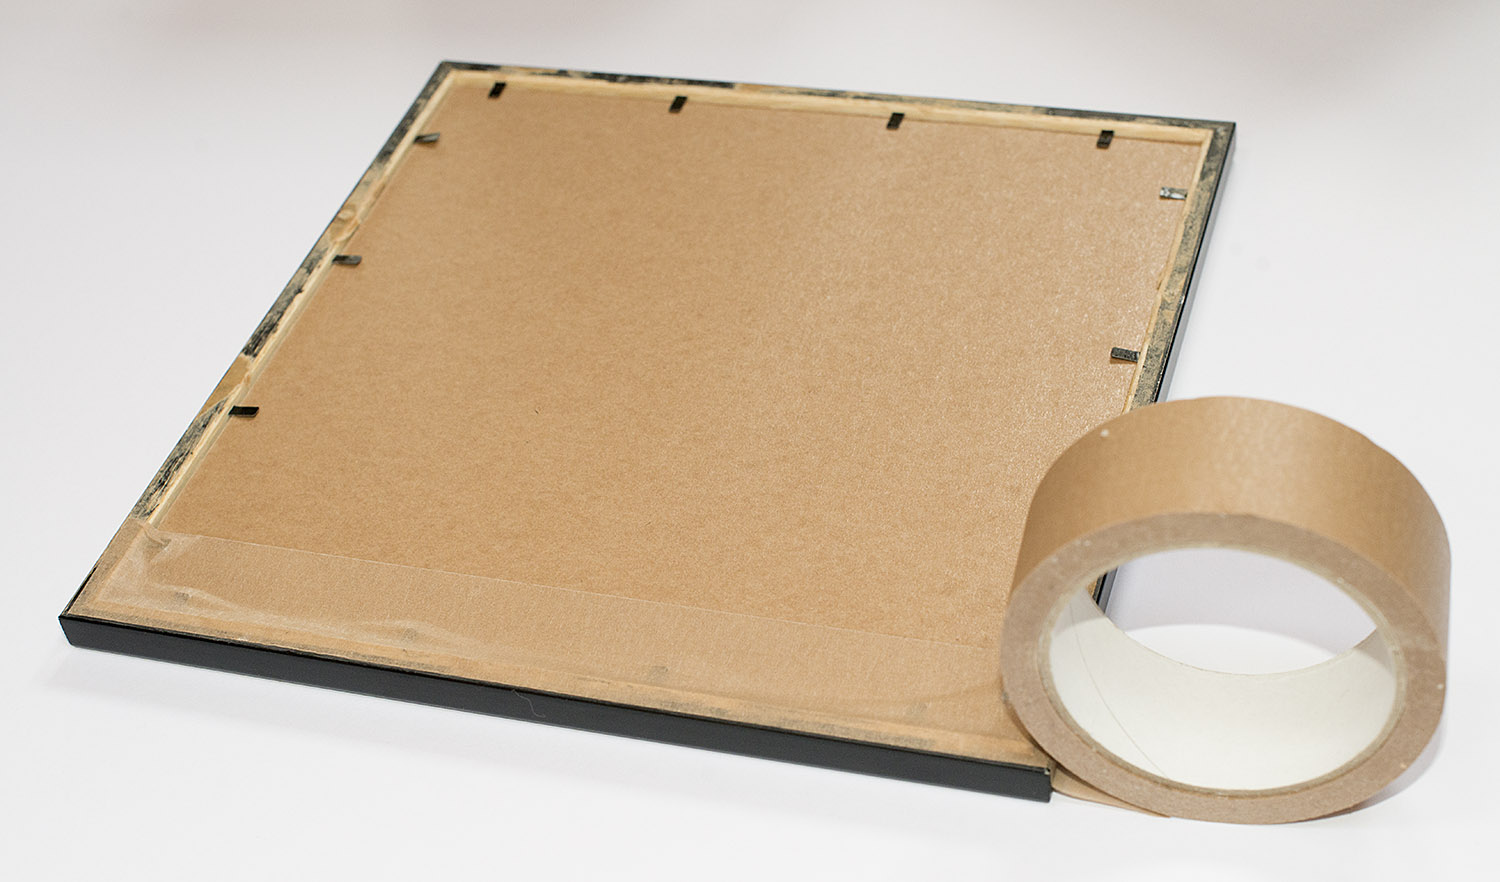 After taping and trimming the tape edge on all four edges it should look like this –
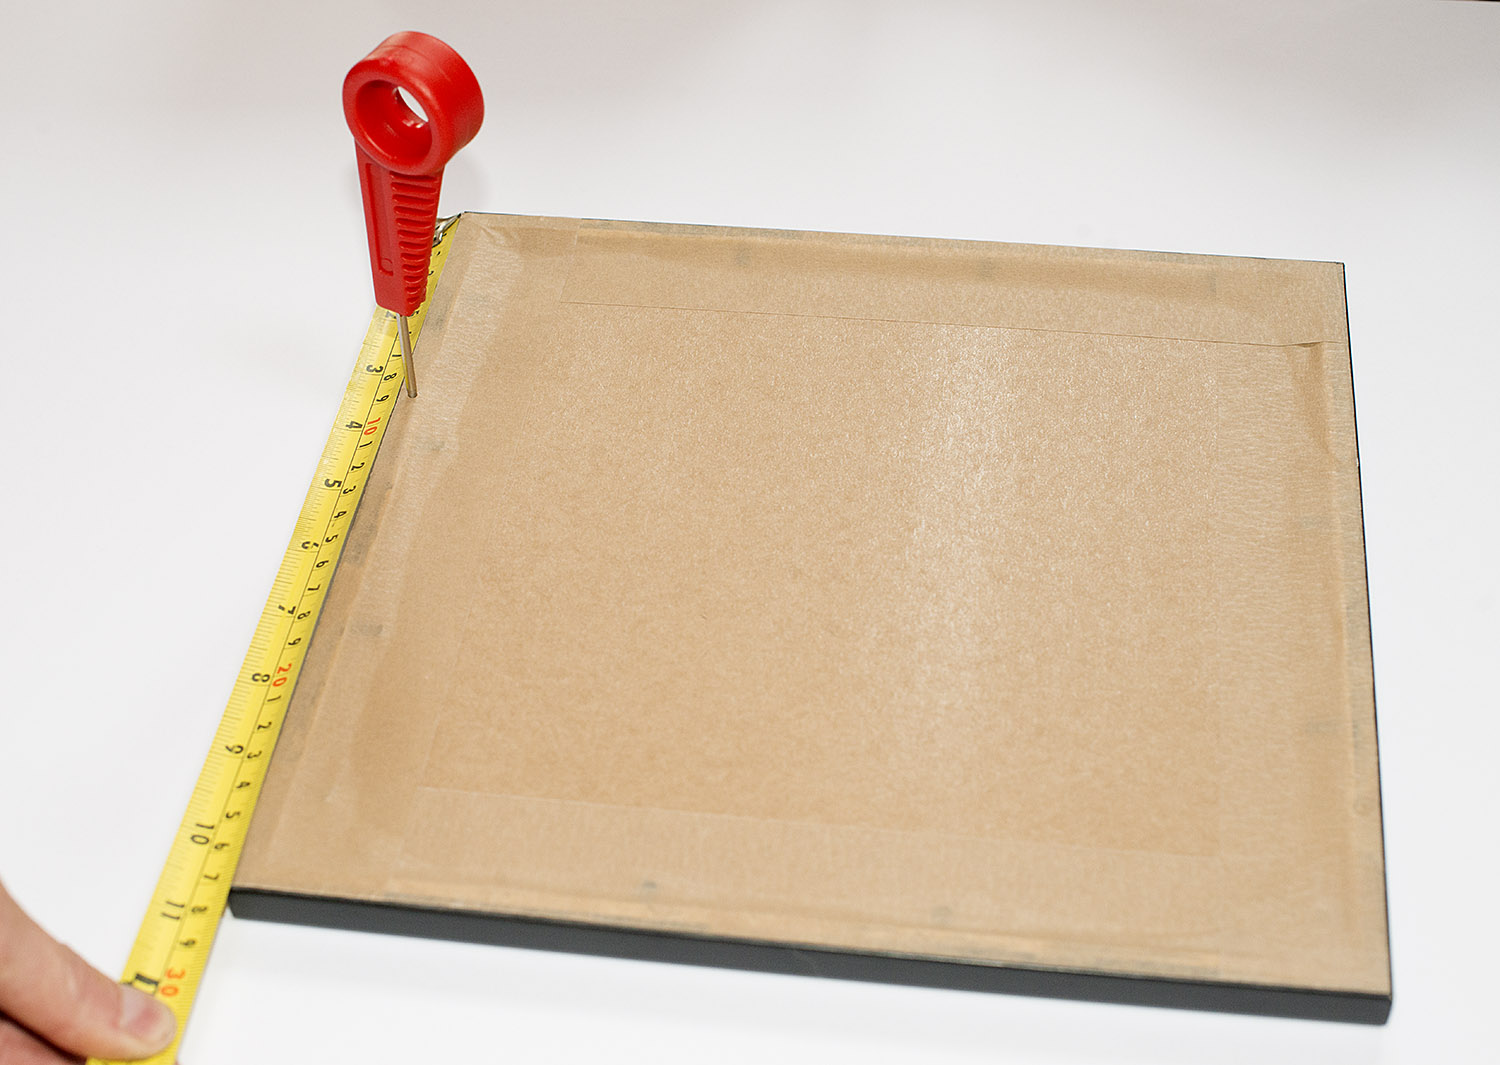
Step 3 :
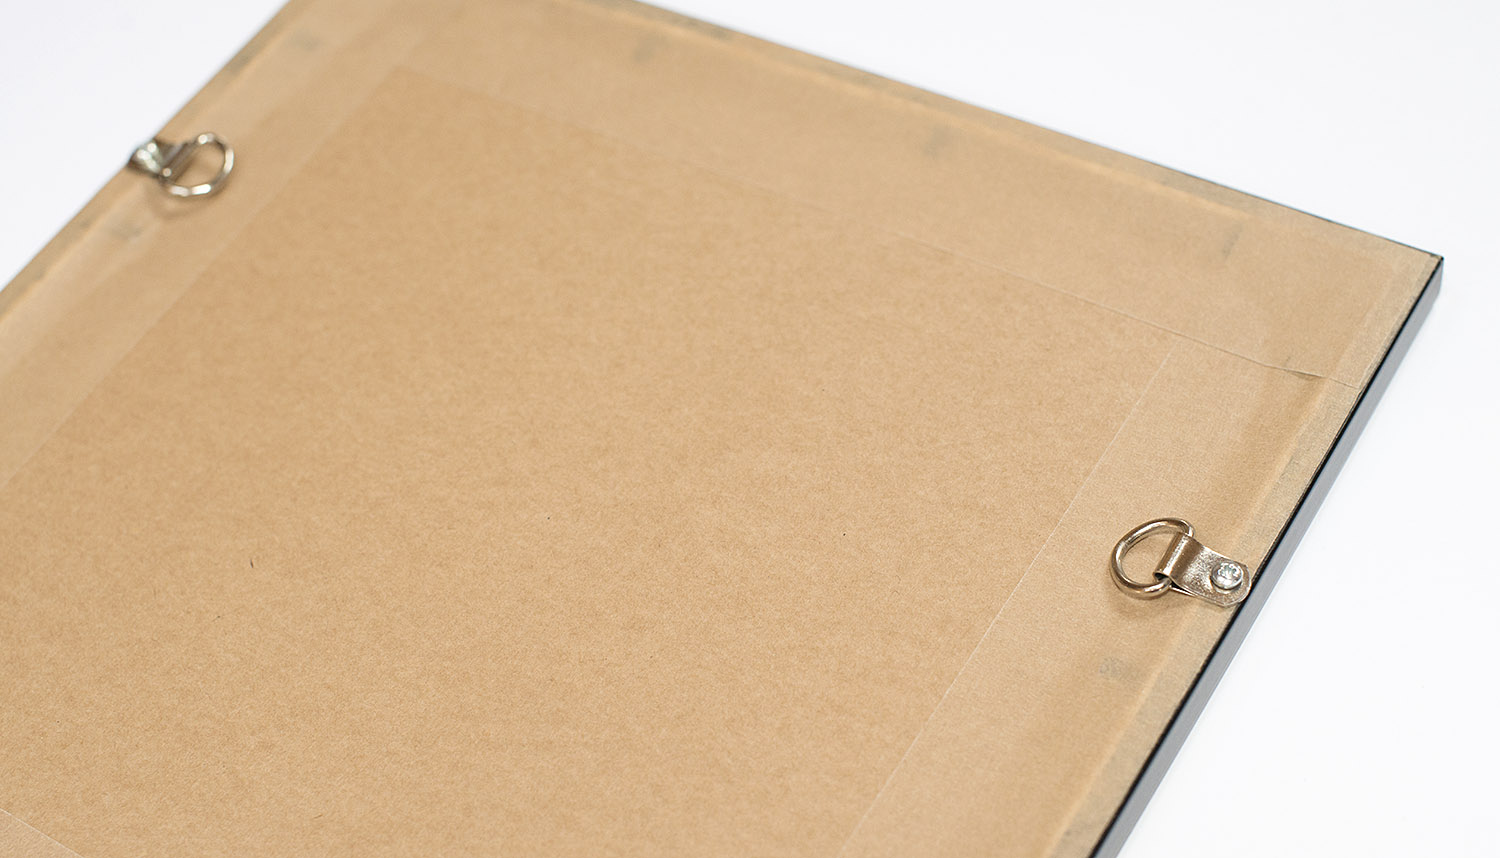
Measure the sides of the frame 1/3 of the way down from top edge, mark with a pencil or bradawl, then create a shallow starting hole in the frame with the bradawl. Repeat on other side of frame so you have two matching holes for starting a screw thread on each side of the frame moulding.
Step 4 :
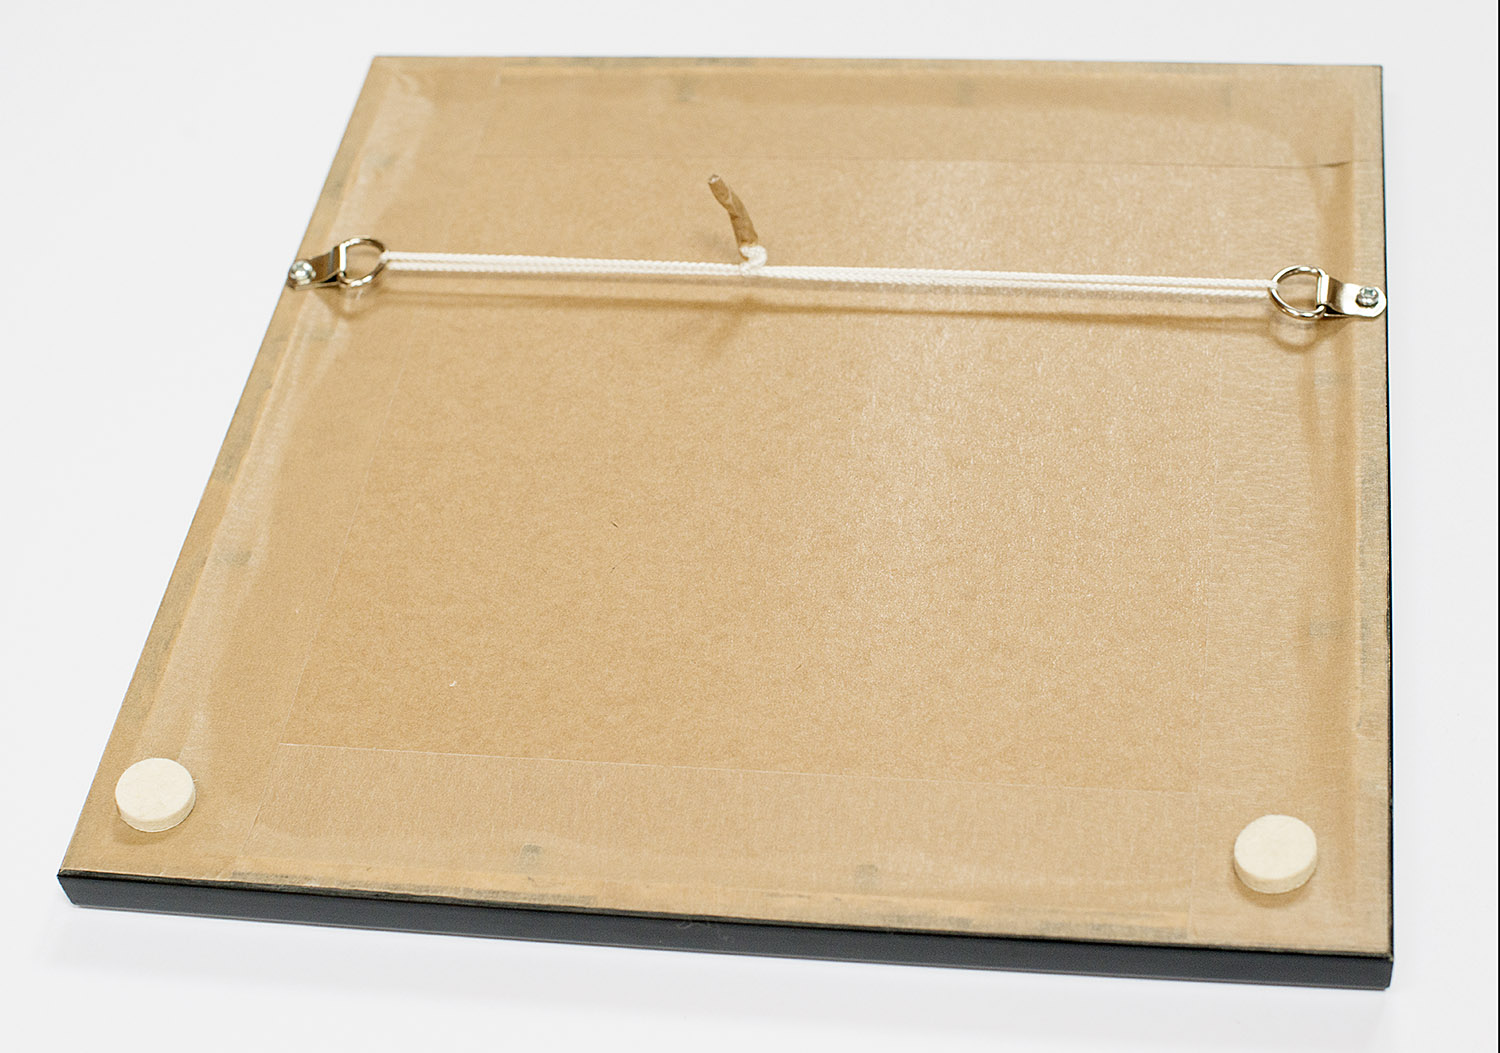
Attach a D-Ring to each side of the frame using a pan headed screw to hole it in place.
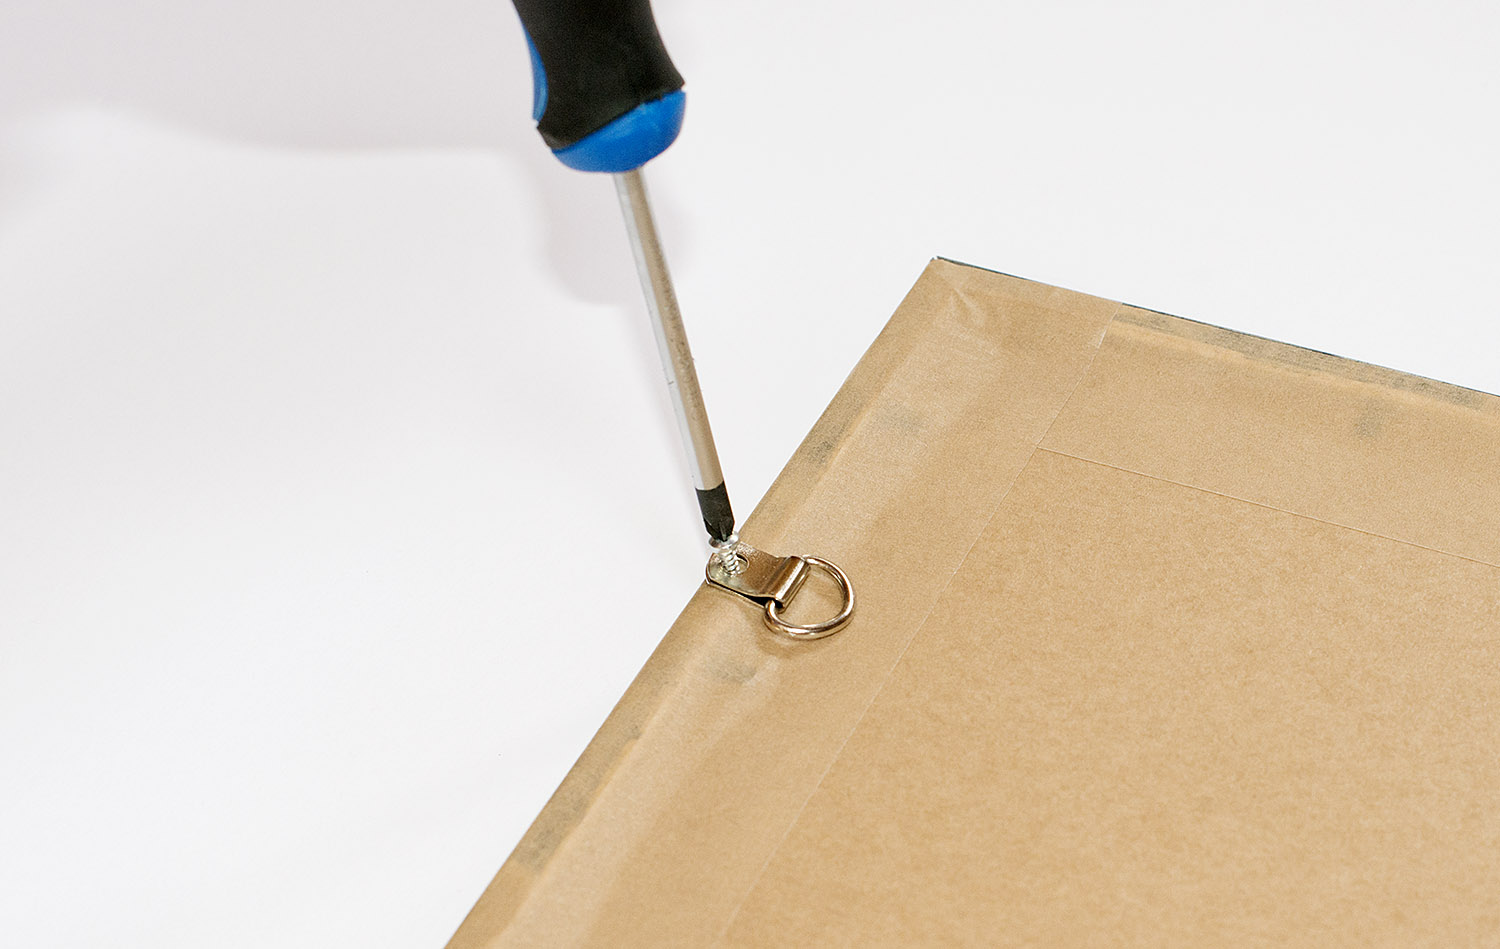
The frame should now be ready to attach picture cord or wire.
Step 5 : Attach cord to each d-ring and secure in place by use of a knot. Preferably one that tightens on itself under tension. Details of one picture framing knot can be found in this article.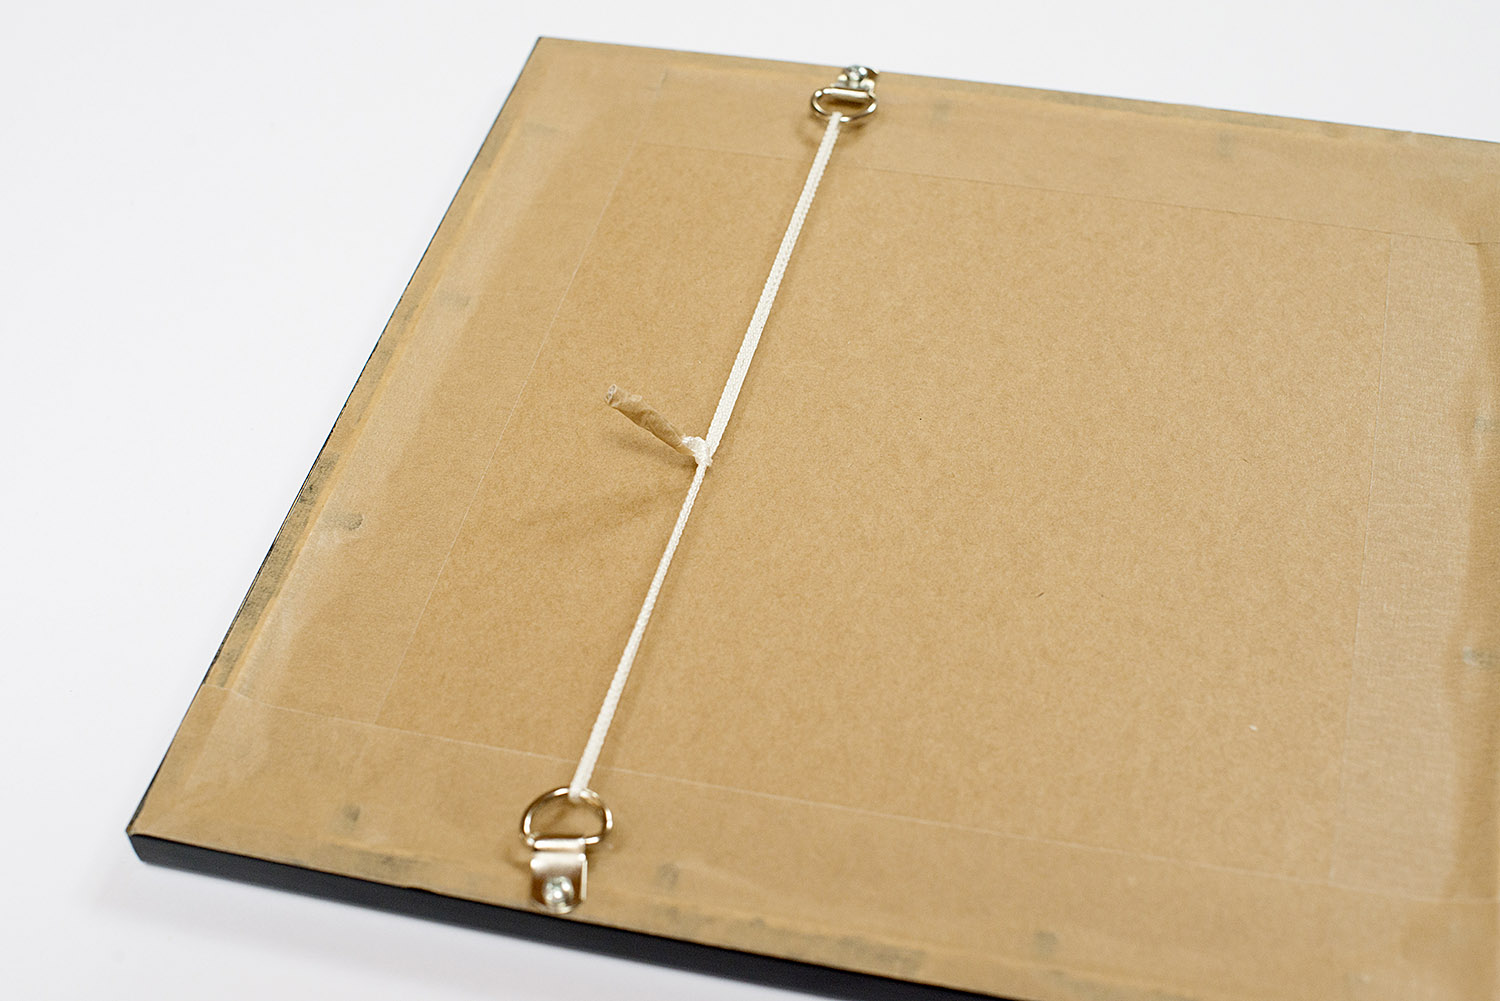
Step 6: Attach two felt or other similar bumper pads to each lower corner of the frame. This will help stop the frame moving on the wall as well as help prevent the frame from marking the wall. It will also create an air gap and allow air to circulate behind the frame.
The picture frame backing process is complete and it’s time to hang your picture on the wall!