New & Back in Stock Items – September 2026
|
|
|
|
|
|
|
|
 UK Picture Framing Supplies Blog
|
|
|
|
|
|
|
|
The following are some of the new products that we are stocking from autumn 2026 (available to buy now) –
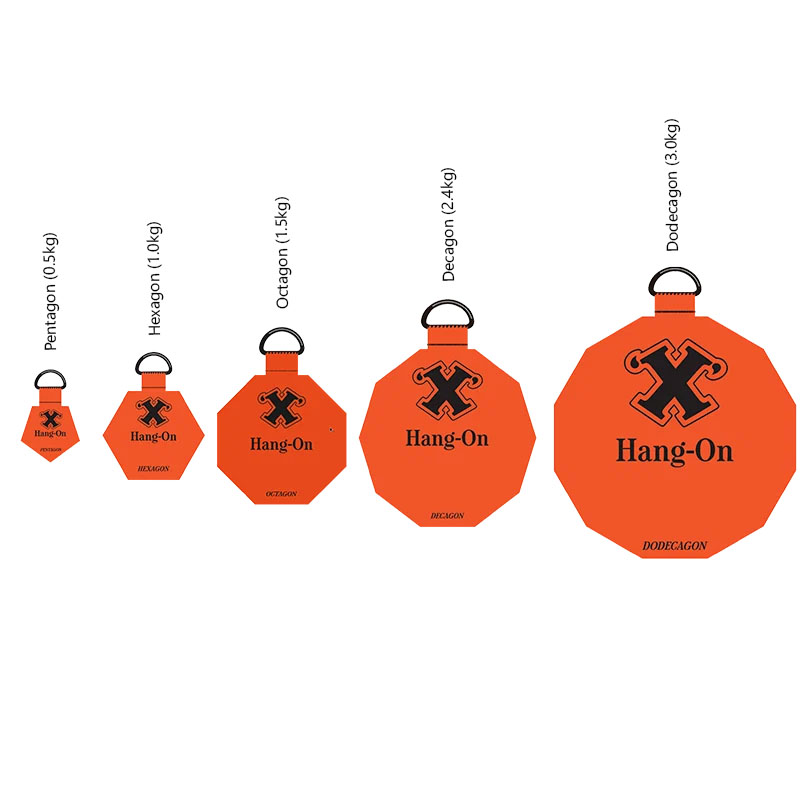
NEW: The interesting and distinctive new X Hang-On Gummed Adhesive Hangers, including the full range of ‘Pentagon Hangers ‘, ‘Hexagon Hangers‘, ‘Octagon Hangers‘, ‘Decagon Hangers‘ and ‘Dodecagon Hangers‘ with load bearing range from 0.5kg to 3kg. X Hang-On hangers use a natural gummed adhesive. ‘One Strong Hold’ is activated by a small amount of water.
A X Hang-On Hanger Sample Pack is also available to buy with one of each size hanger.
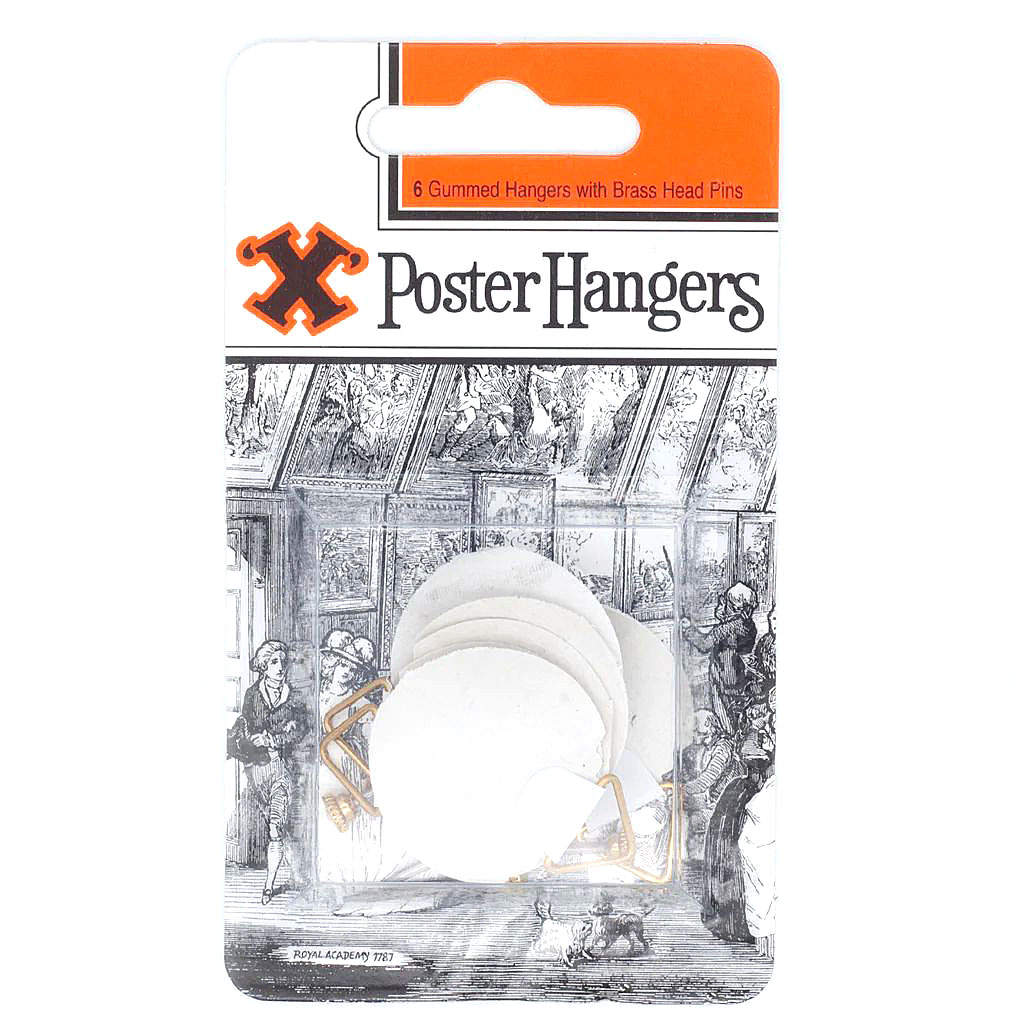
NEW: X Poster Hangers for hanging lightweight posters and other lightweight applications. The gummed adhesive is activated by water. These hangers come with quality and decorative brass headed X-pins included. The are supplied in a sealed pack of 6 hangers and 6 pins.
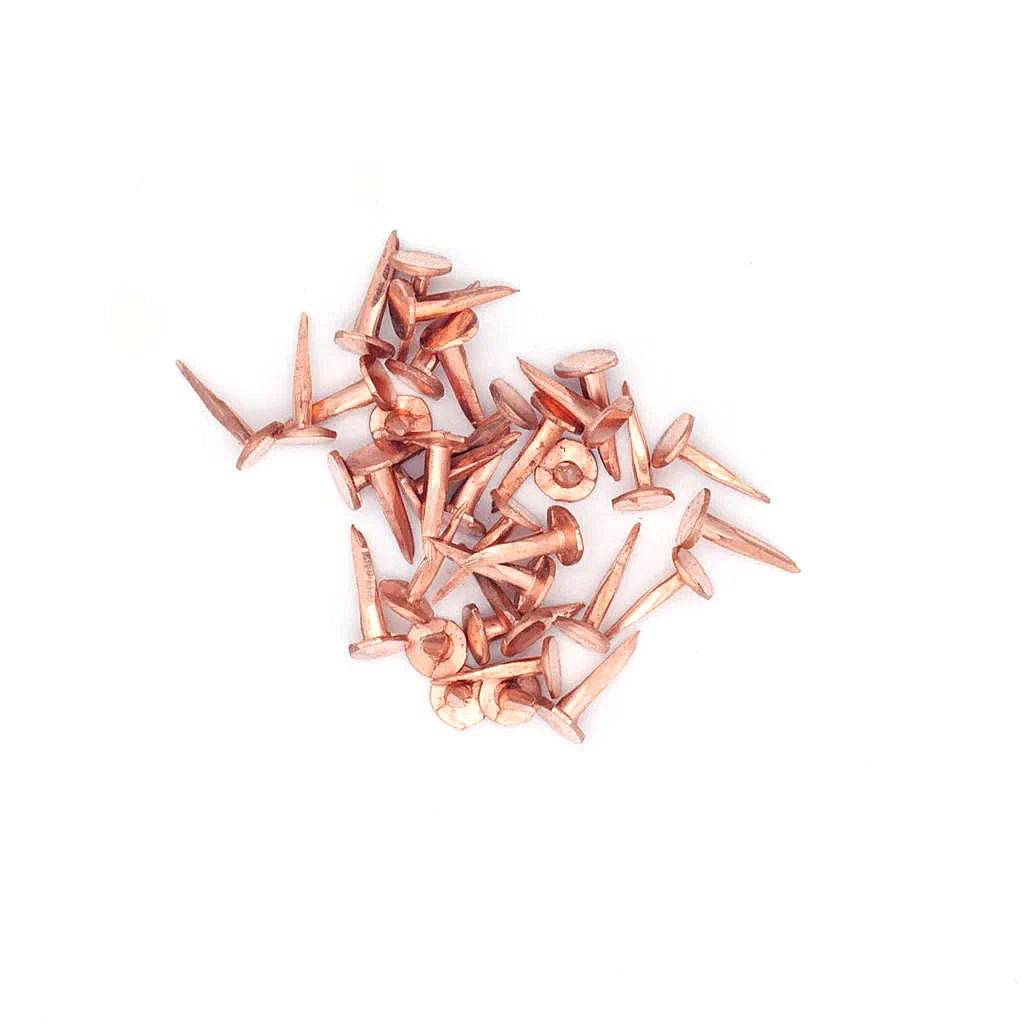
NEW: Solid Copper Tacks 10mm to complement the Solid Copper Tacks 13mm that we already stock. Copper tacks will not corrode/rust and are ideal for upholstery work or for stretched canvas prints. Both sizes of tacks are now available to buy in 50, 100, and 500 unit pack sizes.
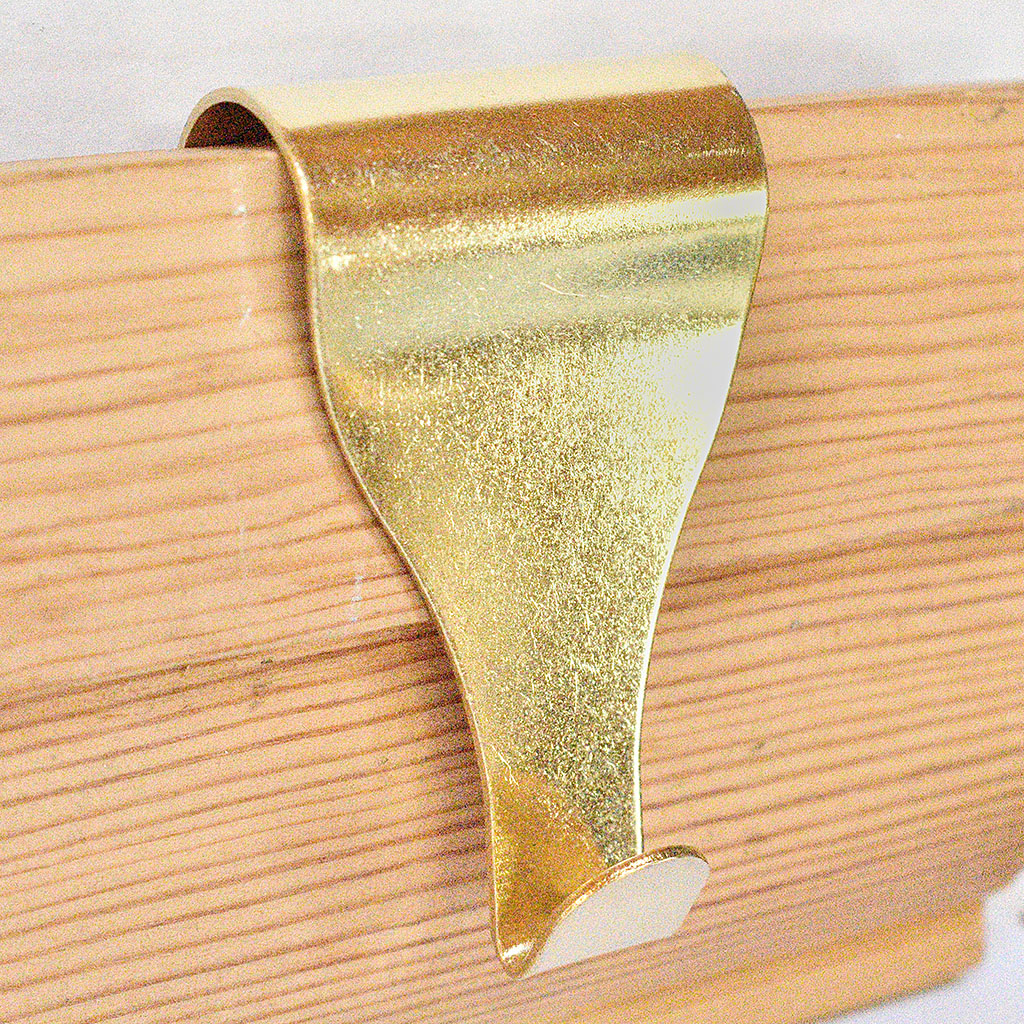
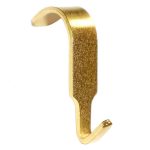
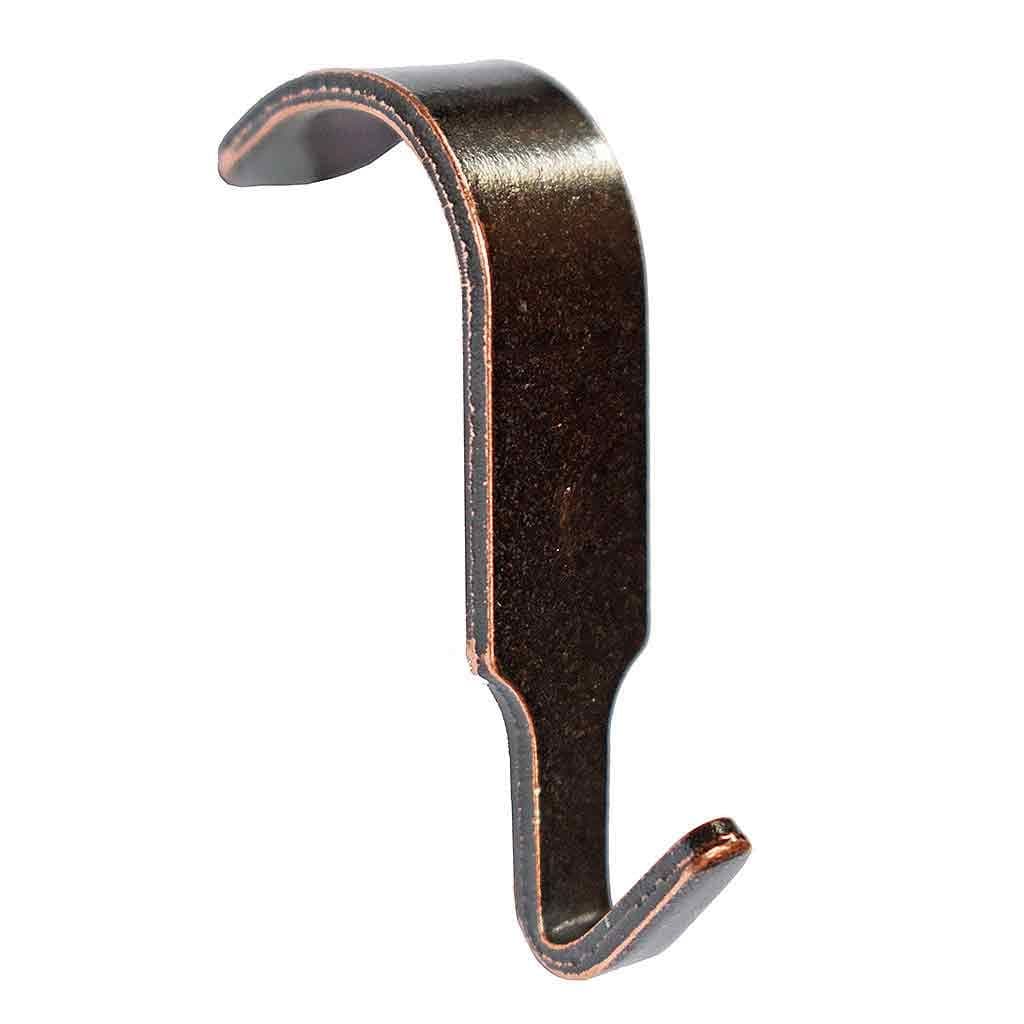
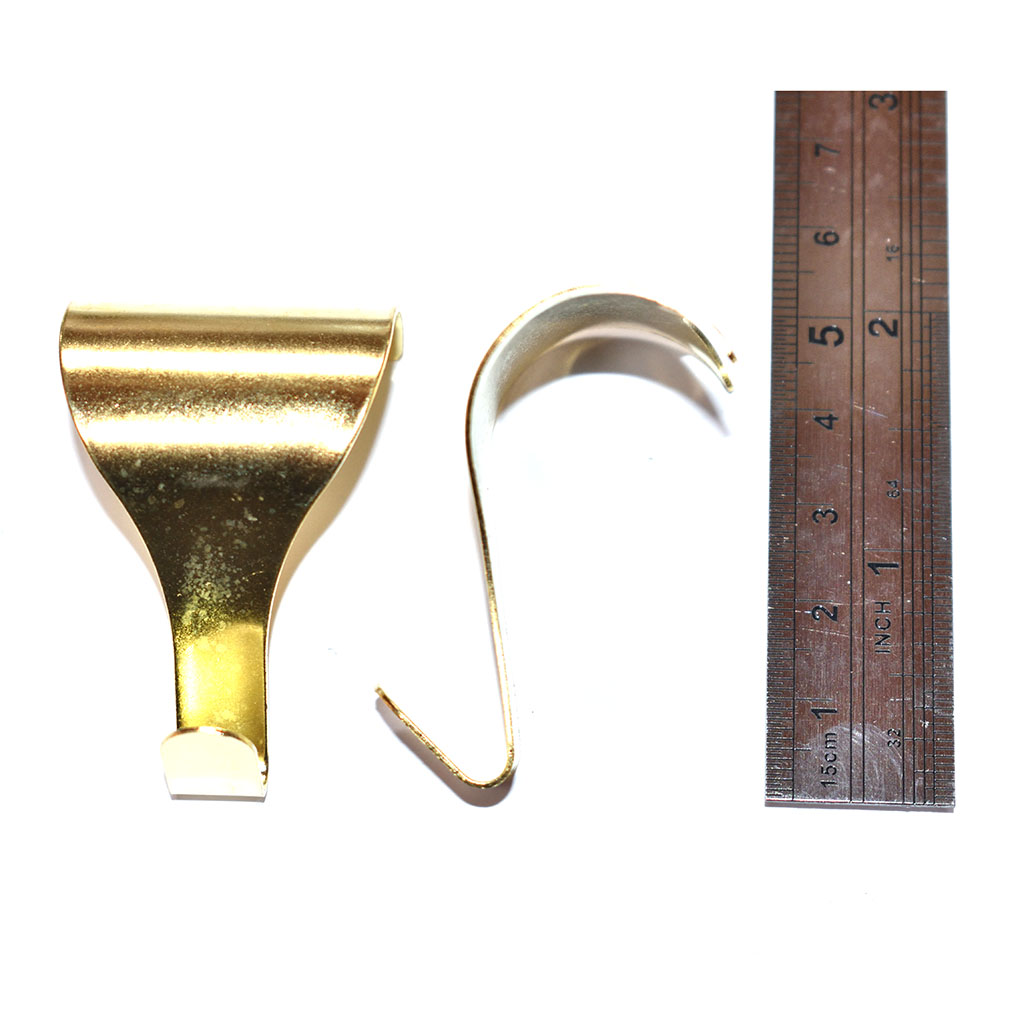
NEW: Picture Rail Hook Brass Plated 61mm. A longer drop of picture rail hook compared to the standard sized ones. Ideal for longer picture rails. They are available in 4, 20, 50 pack sizes.
All products are now available to buy via our website.
 The contents of a picture frame – including the glass/mountboard/artwork/backing board “sandwich” – is commonly secured into the back recess of a picture frame using picture framing tabs and points. The points can be manually pushed in with a screwdriver (certainly an easier task with a soft wooden moulding), or pushed in with a point fixing tool, or can be fired in with point drivers (tab guns).
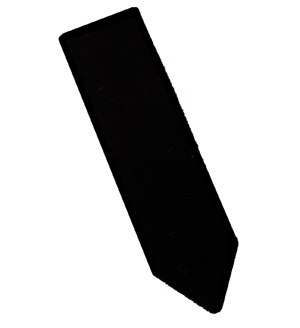
The tabs and points themselves come in a variety of styles (triangular, narrow with a point), sizes and rigidity (flexible, semi-rigid, rigid). The more rigid points won’t bend easily and will help to securely hold the contents of a frame in place (in conjunction with a brown frame backing tapes). Flexible points/tabs can be bent (without removal of the tabs from the frame) which allows easy access to the contents of a frame (say to change the artwork, mount or remove some dust), before bending the points flat again to re-secure the contents.
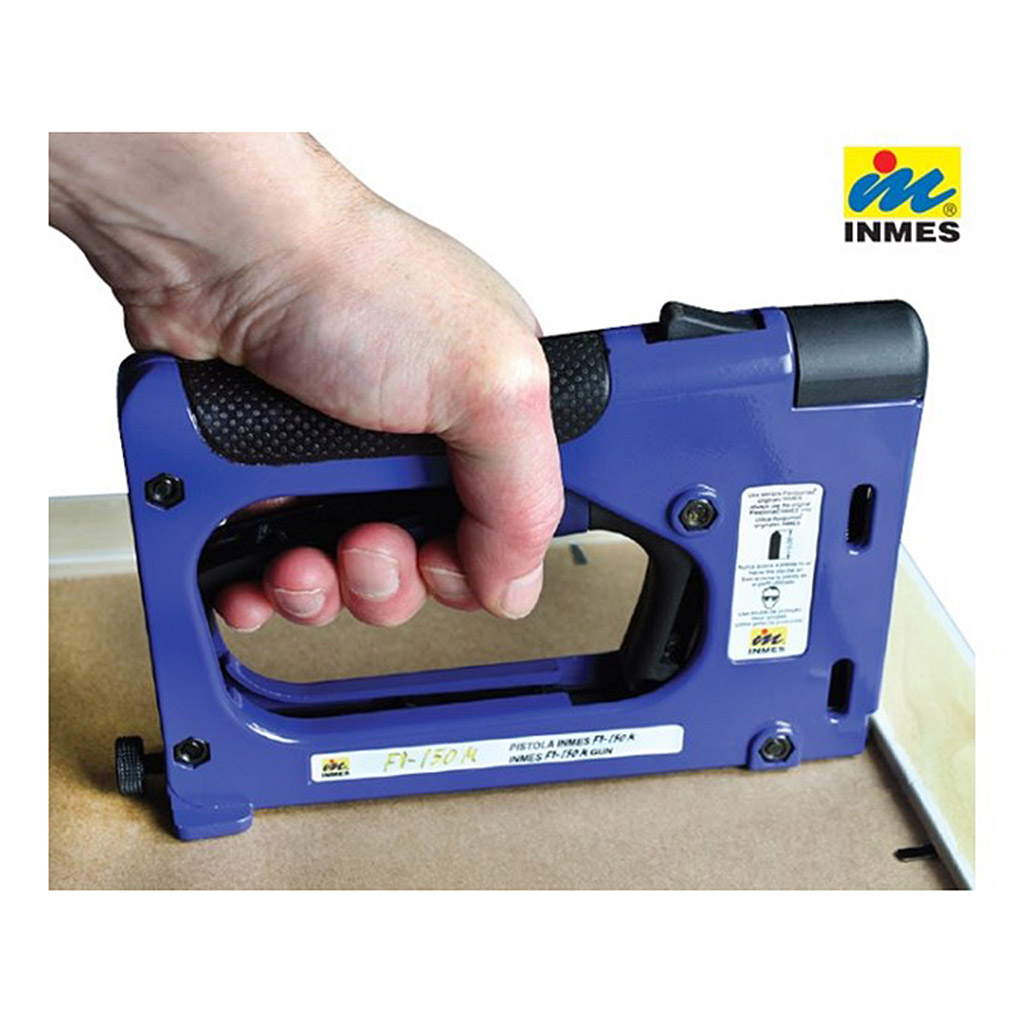 Point drivers are a fast way to drive points into the rebate at the back of the picture frame and are a must-have tool for any framer from a keen hobbyist to a small workshop based framing business. Some industrial point drivers can be pneumatic but are larger and designed for larger volume production environments.
Handheld point drivers are spring-loaded, easy to set up and fired by pulling the hand trigger which drives a point into the side of the frame rebate. Complete frames can be secured with multiple points driven in around the frame in an operation that can often be achieved in under one minute.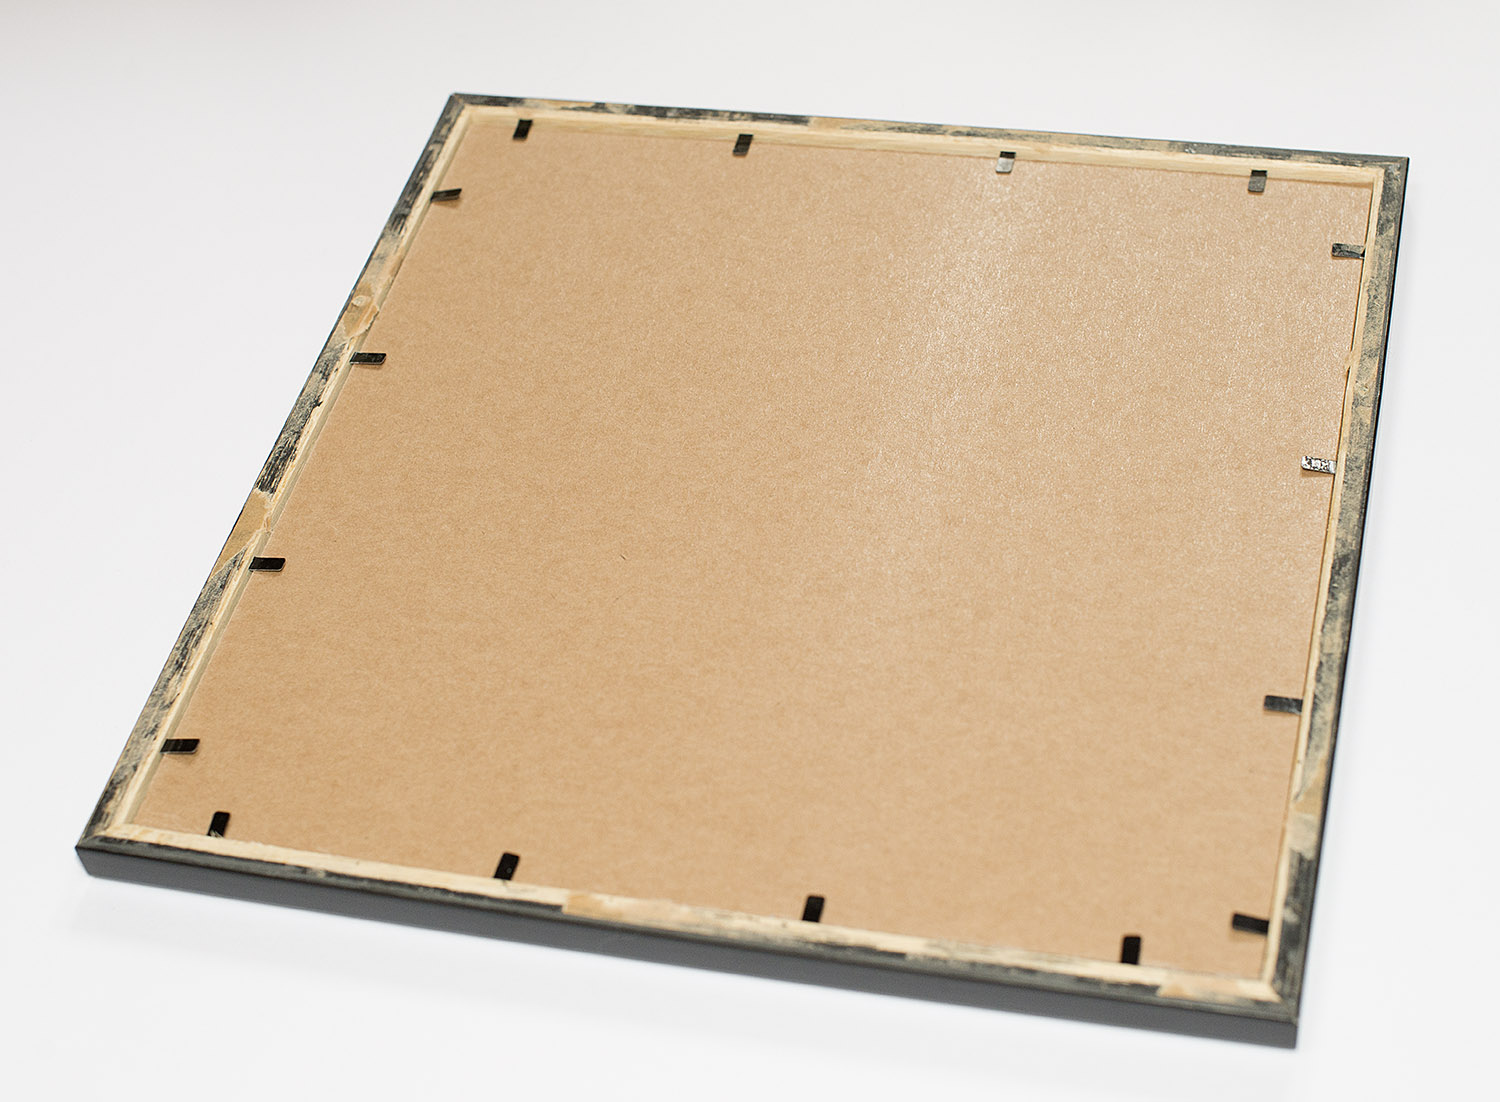
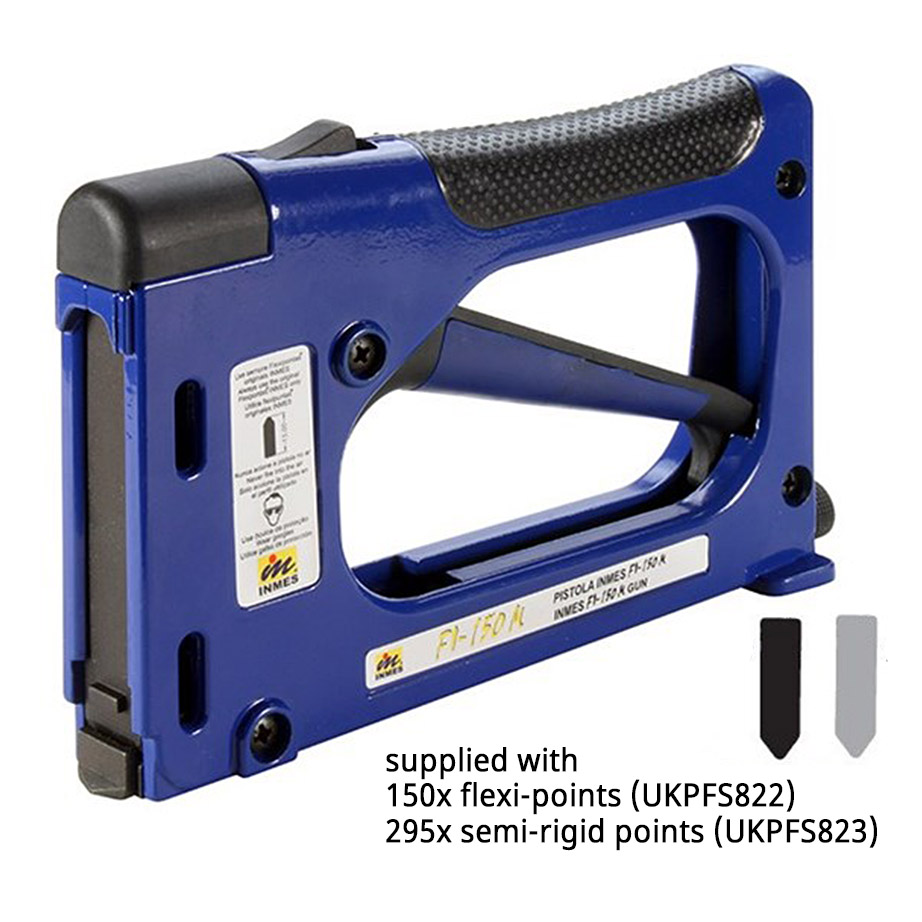
The Inmes Fi-150M Point Driver is one such manual points driver. It takes 15mm long flexi-points/tabs (UKPFS822) or semi-rigid points/tabs (UKPFS823). It has a sturdy die-cast body, with a soft grip handle, easy front loading and adjustable firing pressure to suit different hardnesses of woods.
You can buy an Inmes Points Driver with some sample points from us here.
Some of the latest product additions to the UK Picture Framing Supplies website shop for autumn 2019 –
| Solid Copper Tacks 13mm. Copper does not rust. Sold in a blister pack of approx. 210 tacks |  |
| Solid Brass Panel Pins 13mm. Solid Brass will not rust. Sold in a blister pack of approx. 240 pins | 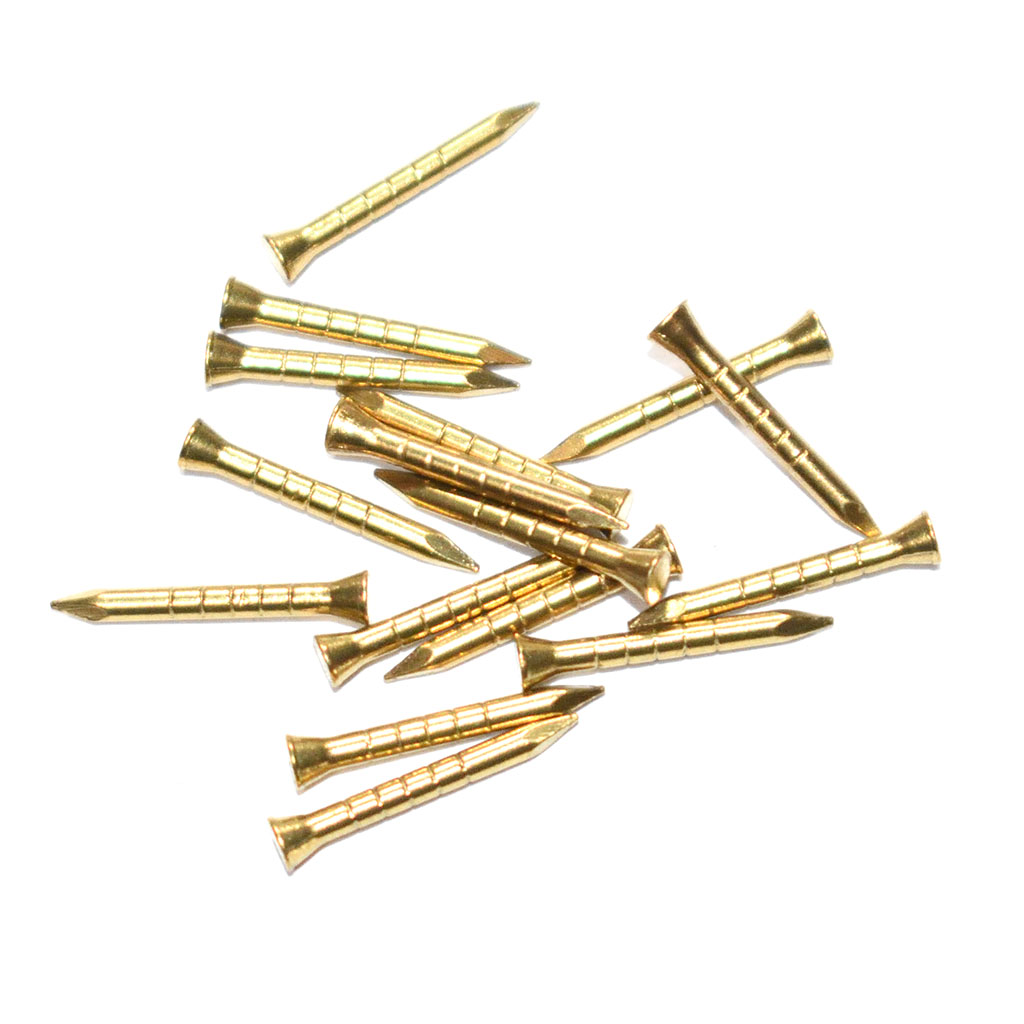 |
| Solid Bras Panel Pins 25mm. Solid Brass will not rust. Sold in a blister pack of approx. 210 pins |  |
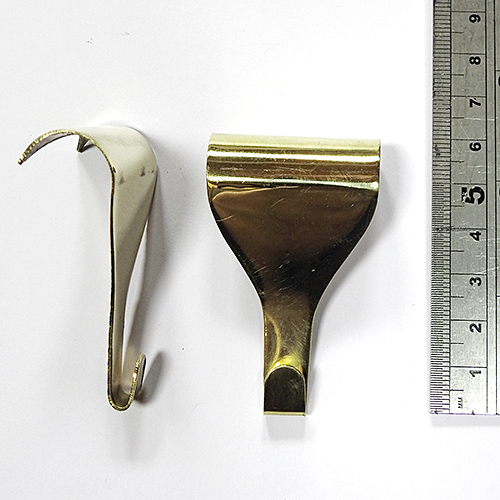
| Picture Rail Hook Nickel Plated. These hoks have a similar longish drop as our solid brass picture rail hooks | 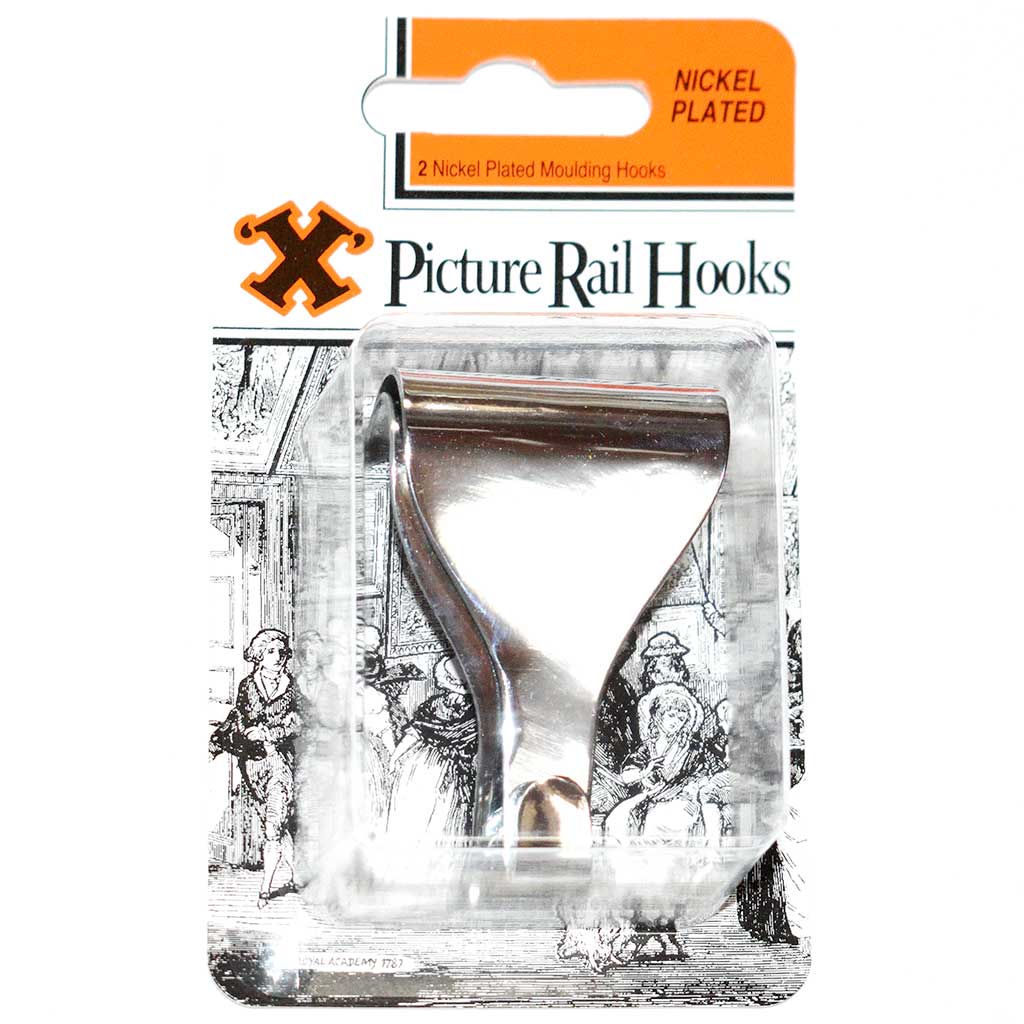 |
| Gummed Disc Plate Hangers. Available in 30mm, 50mm, 75mm, 100mm, & 140mm | 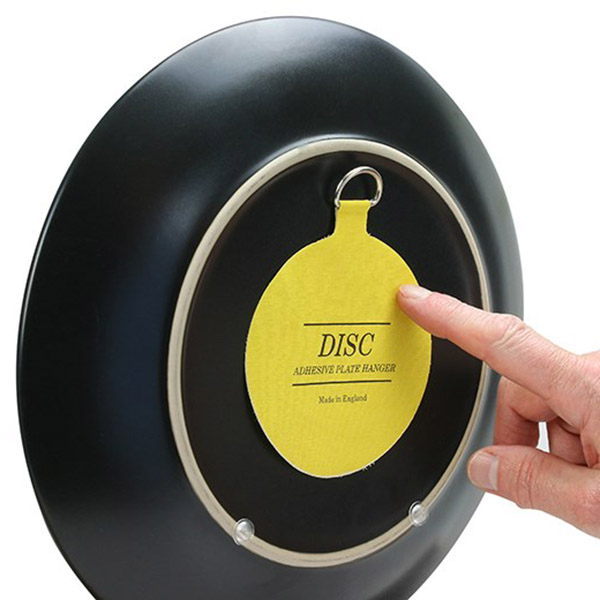 |
| Picture Pins Hardened 26mm Blued | 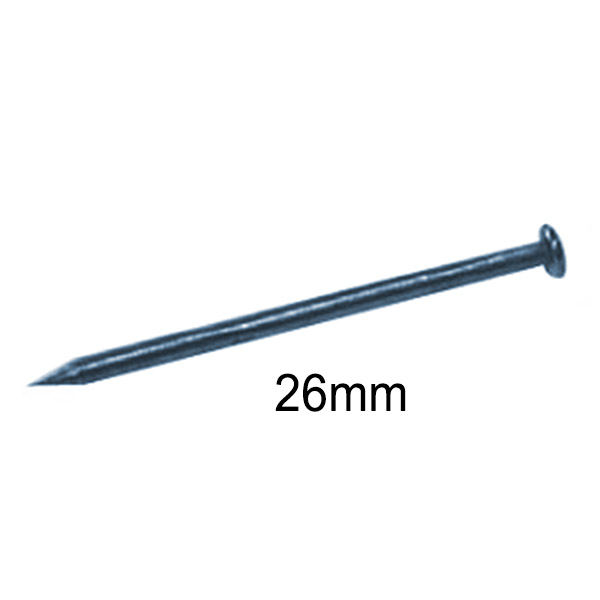 |
| Self Adhesive Graphics Panel Plates 100x100mm. Rated at 3kg. | 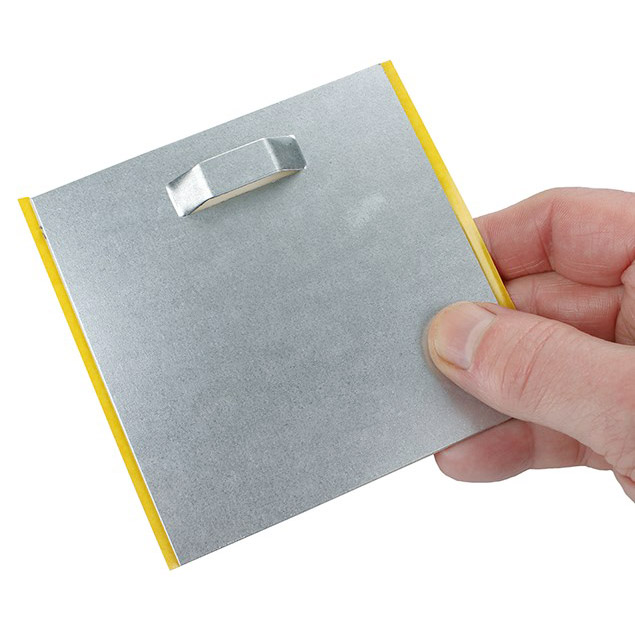 |
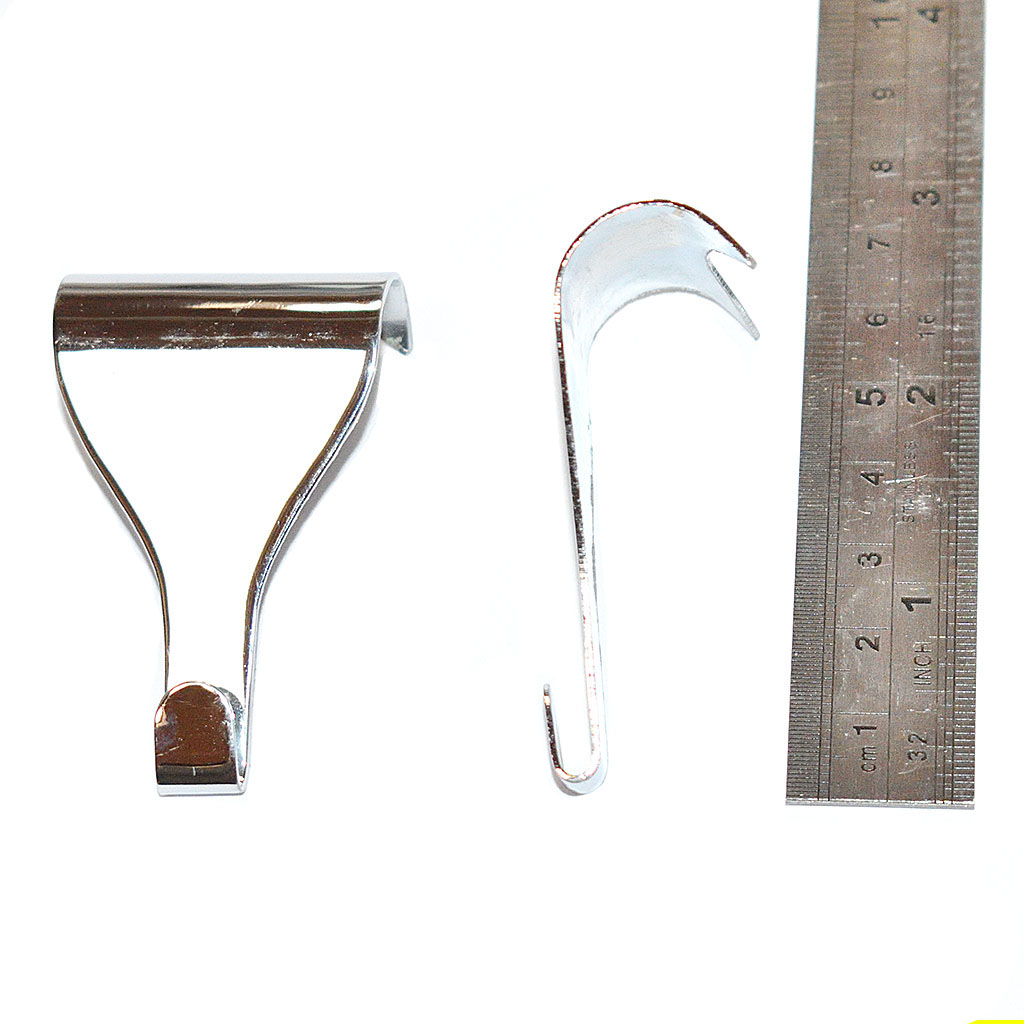
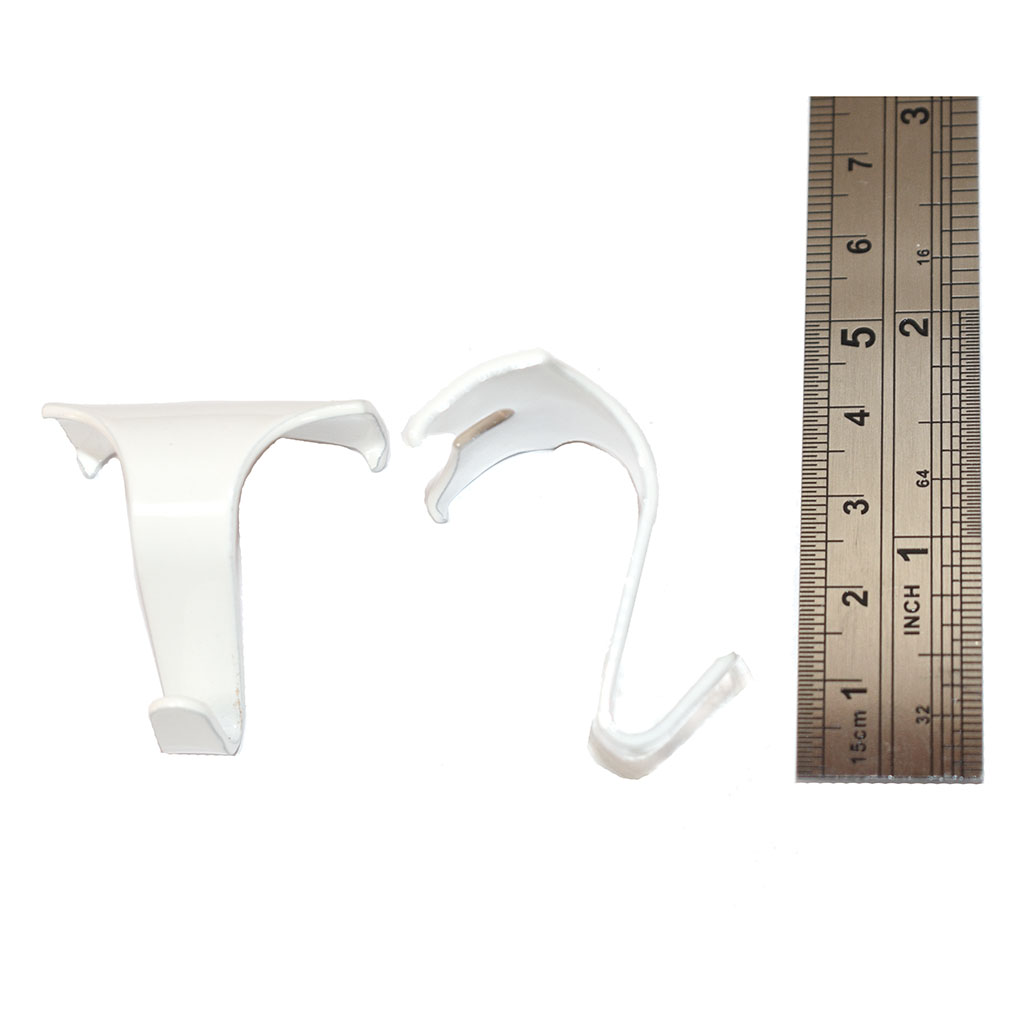
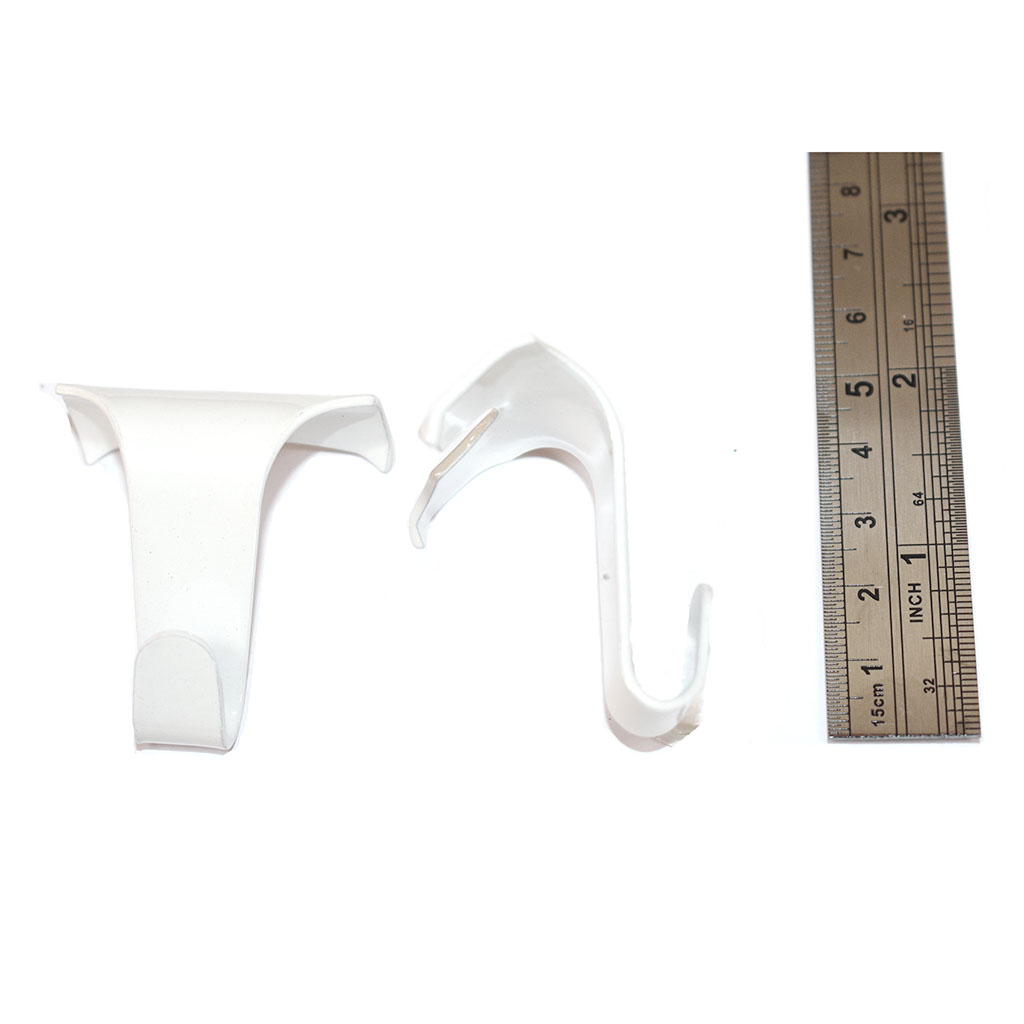
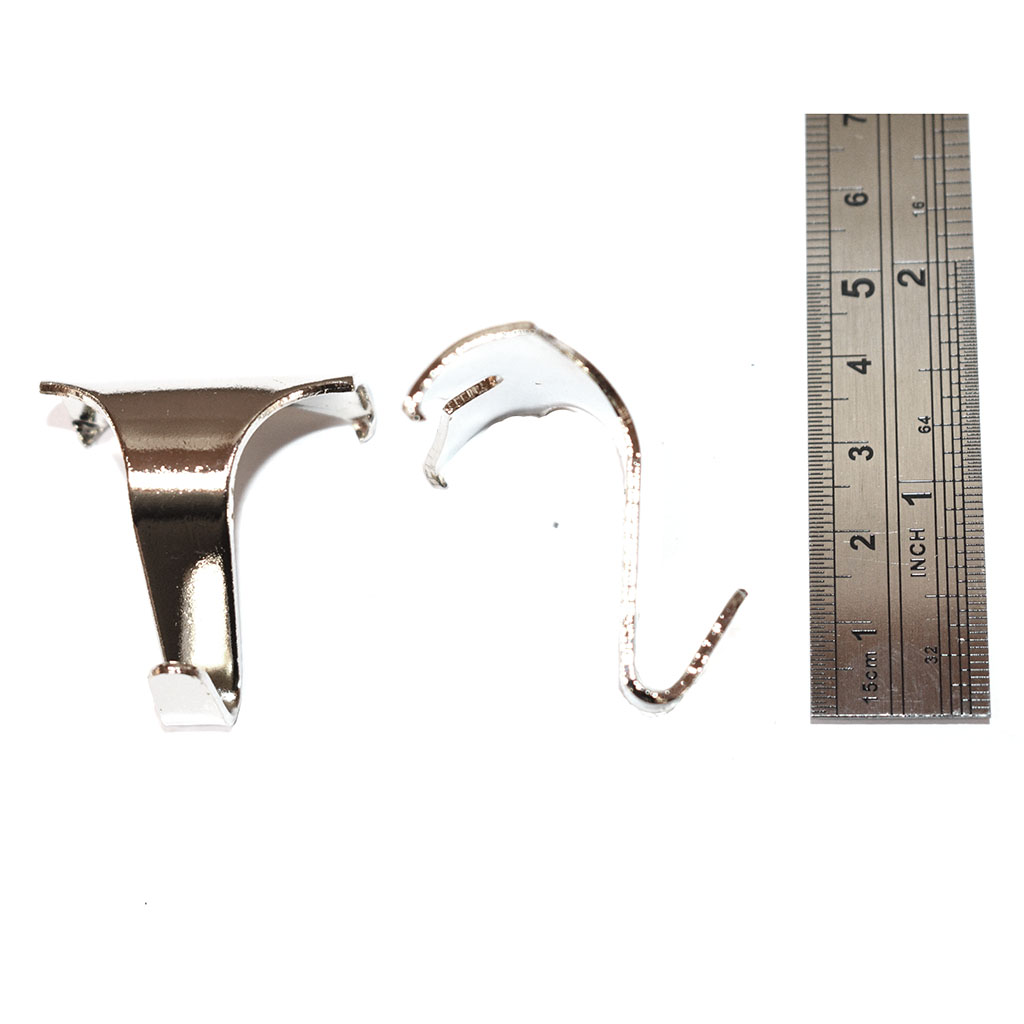
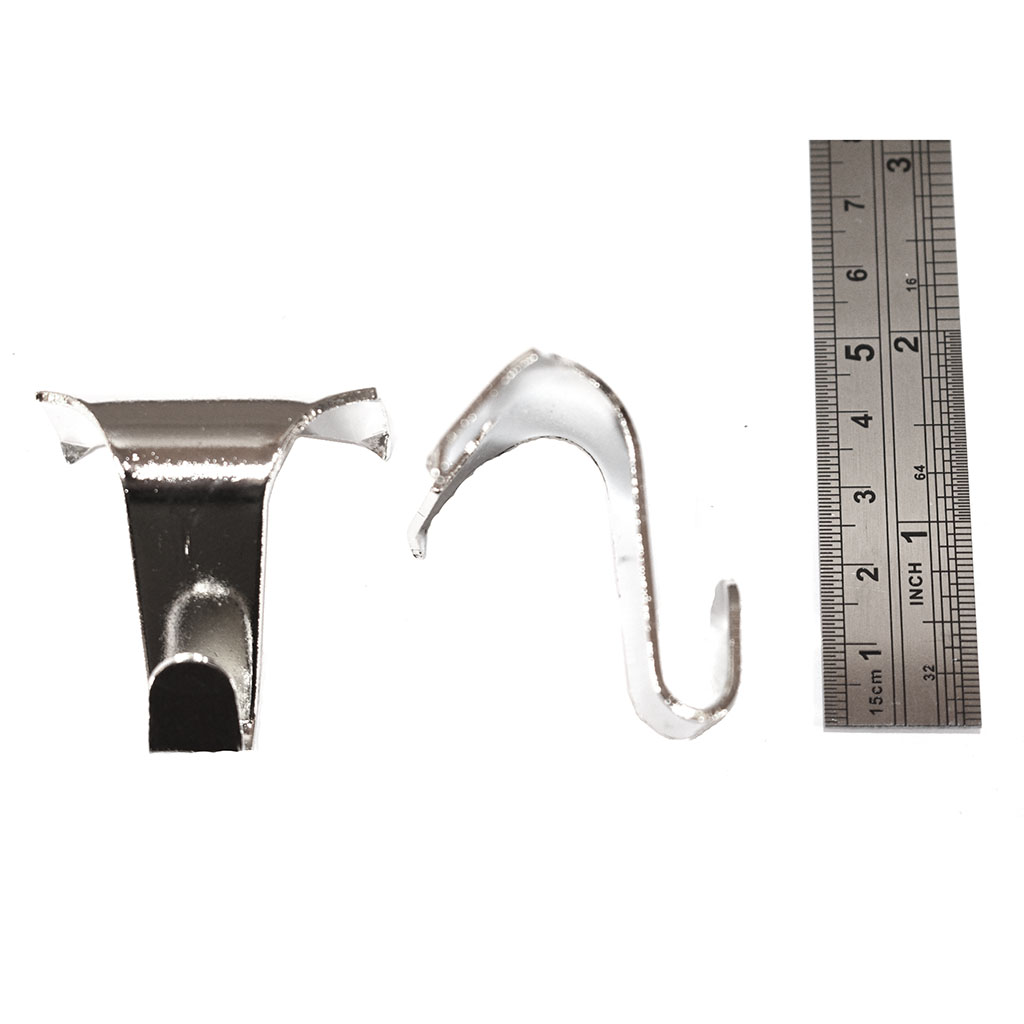
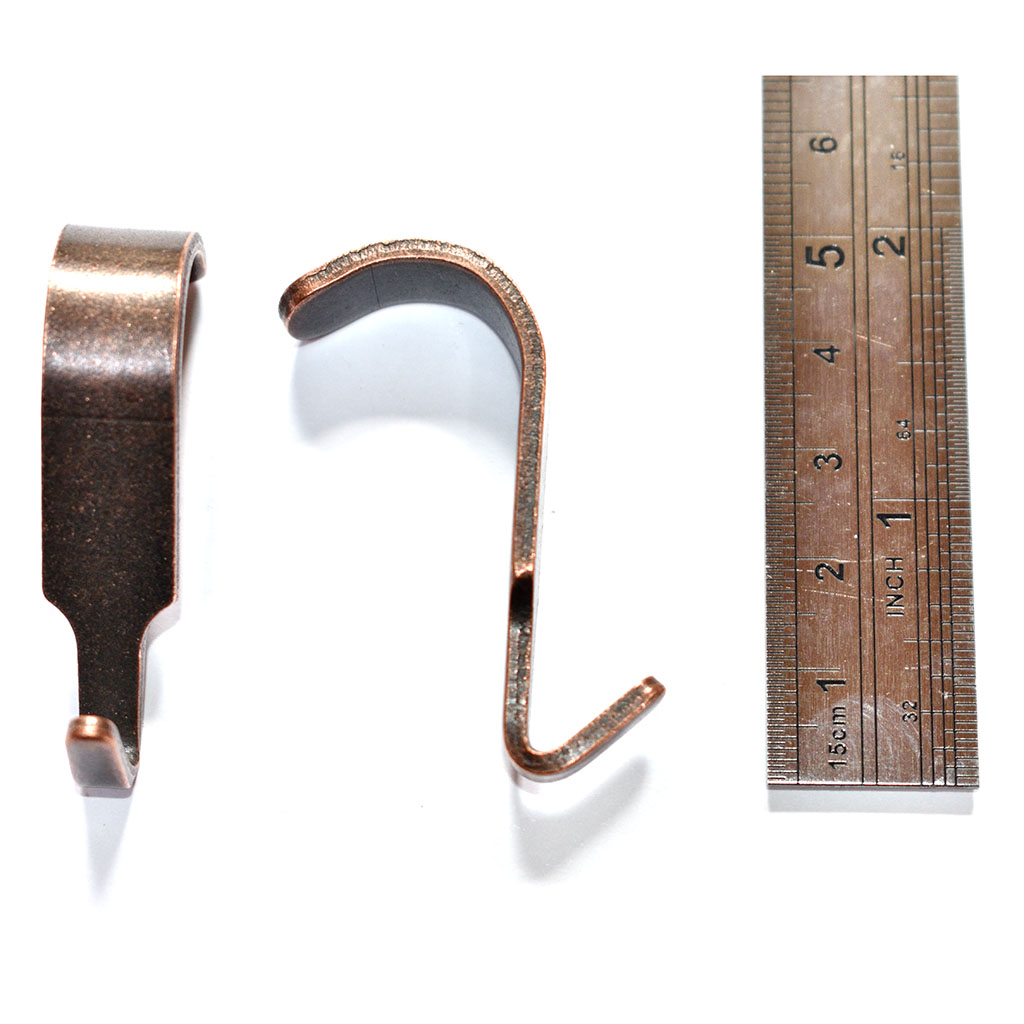
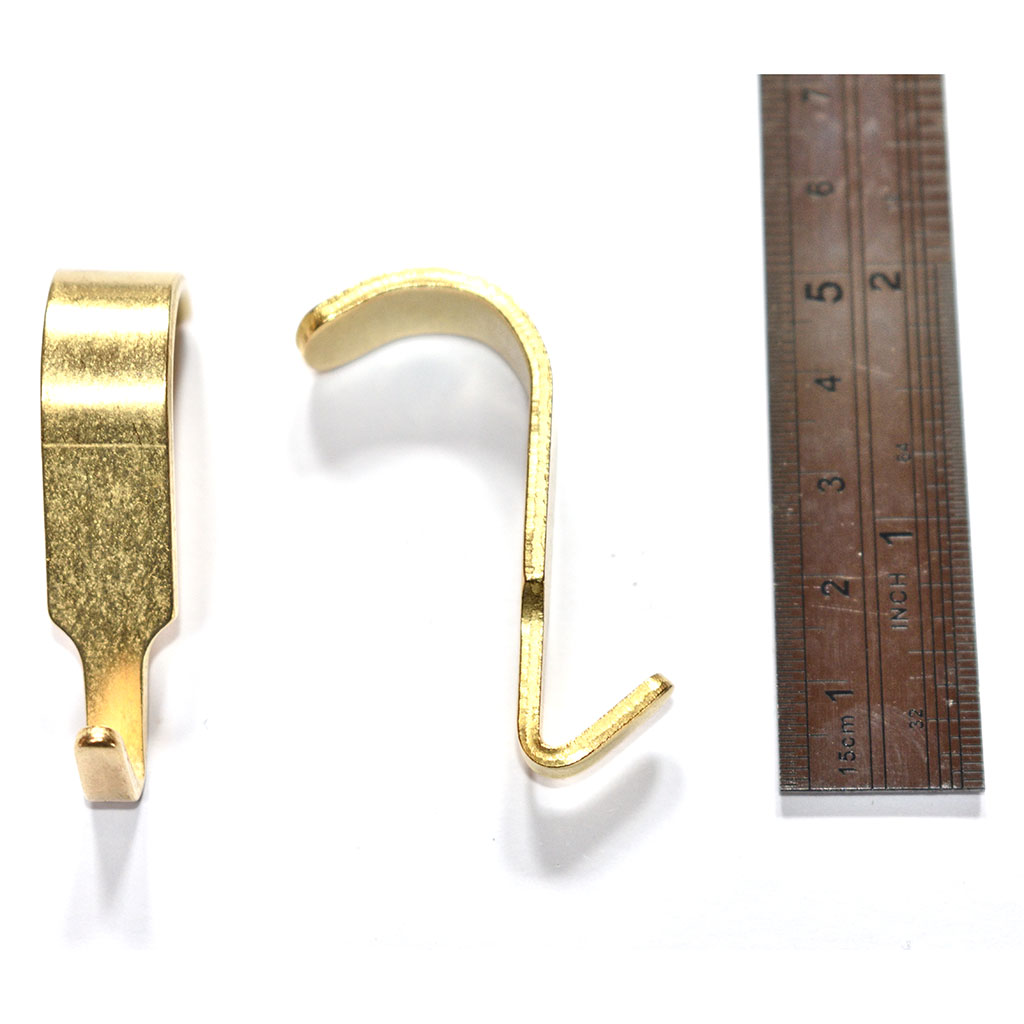
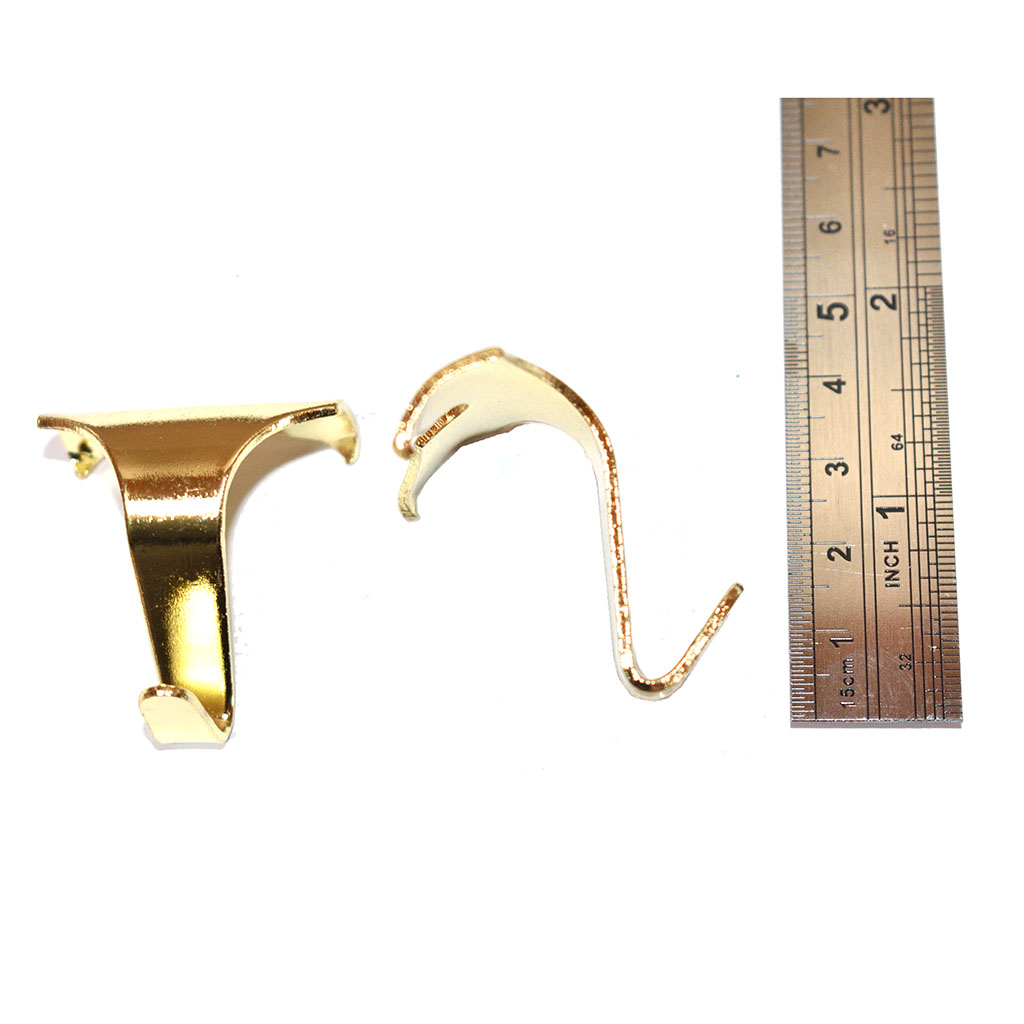
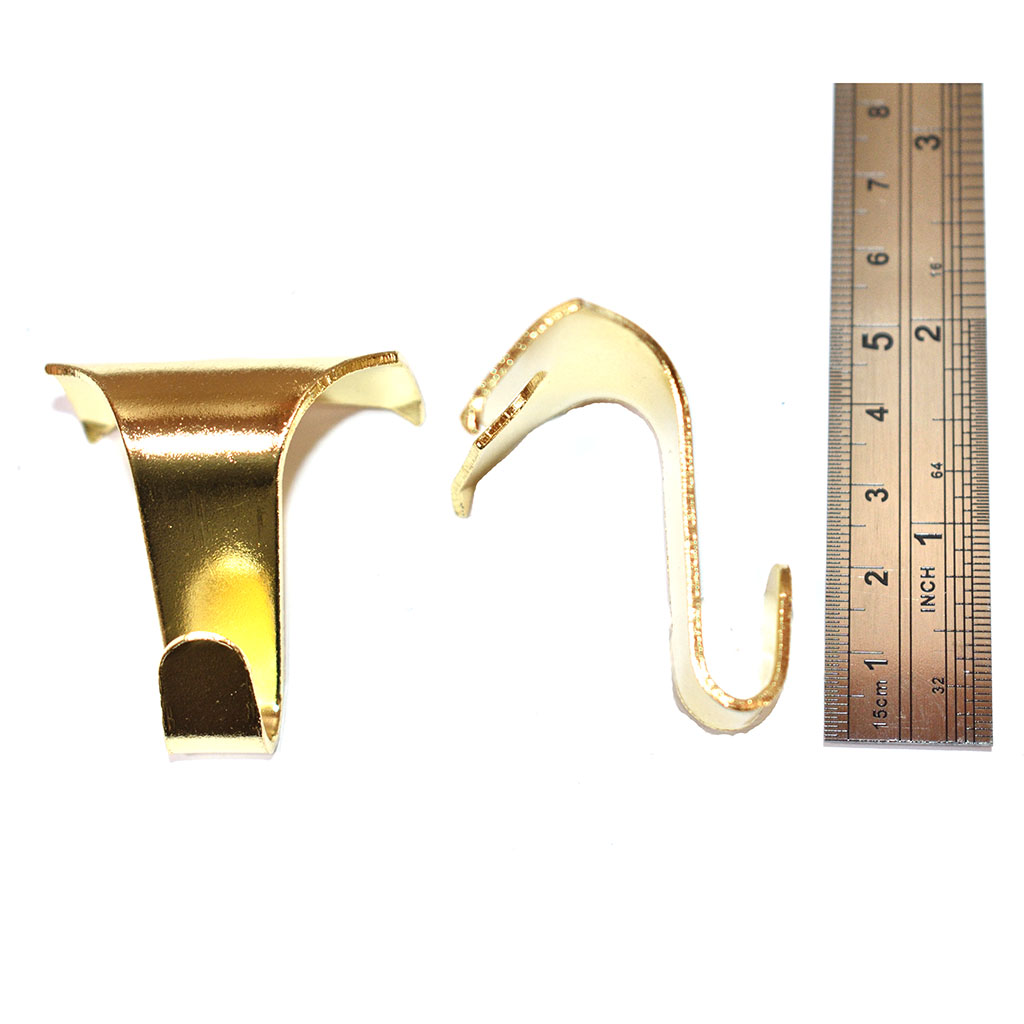
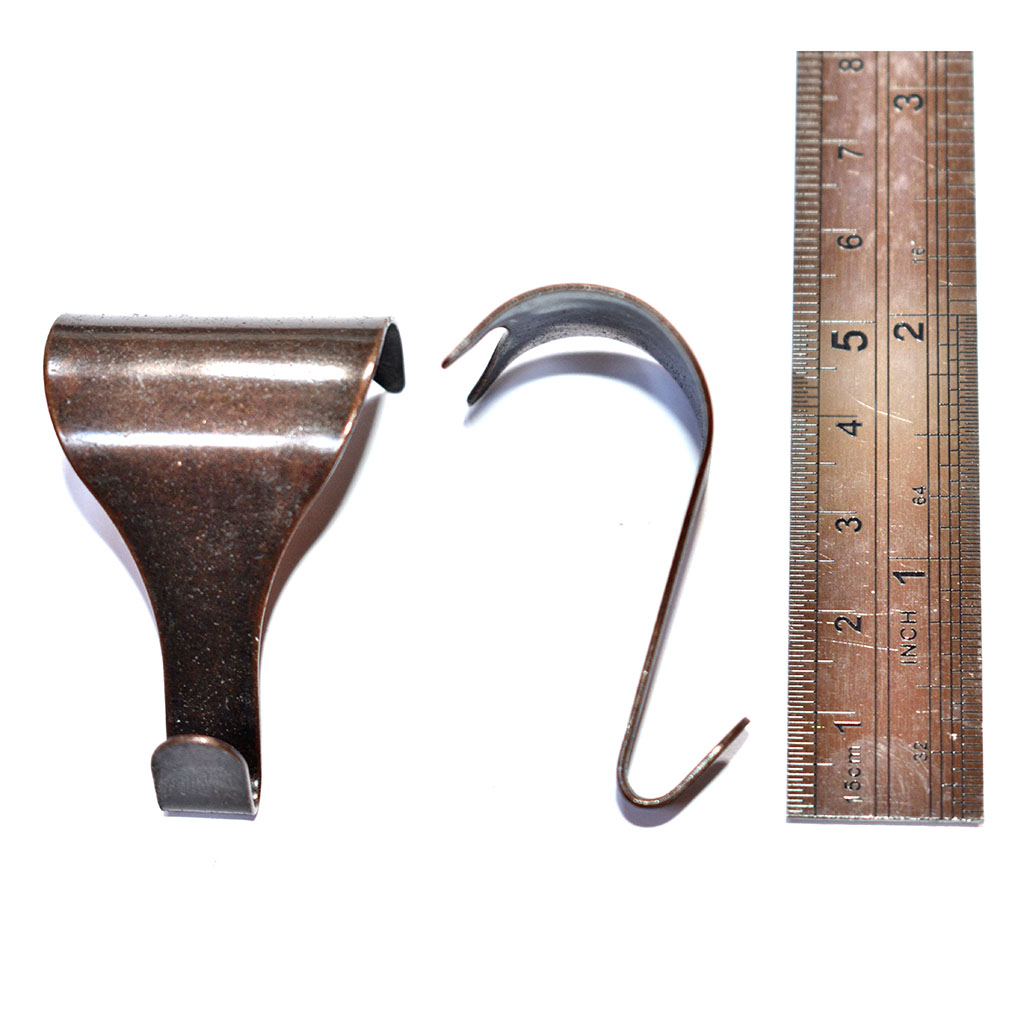
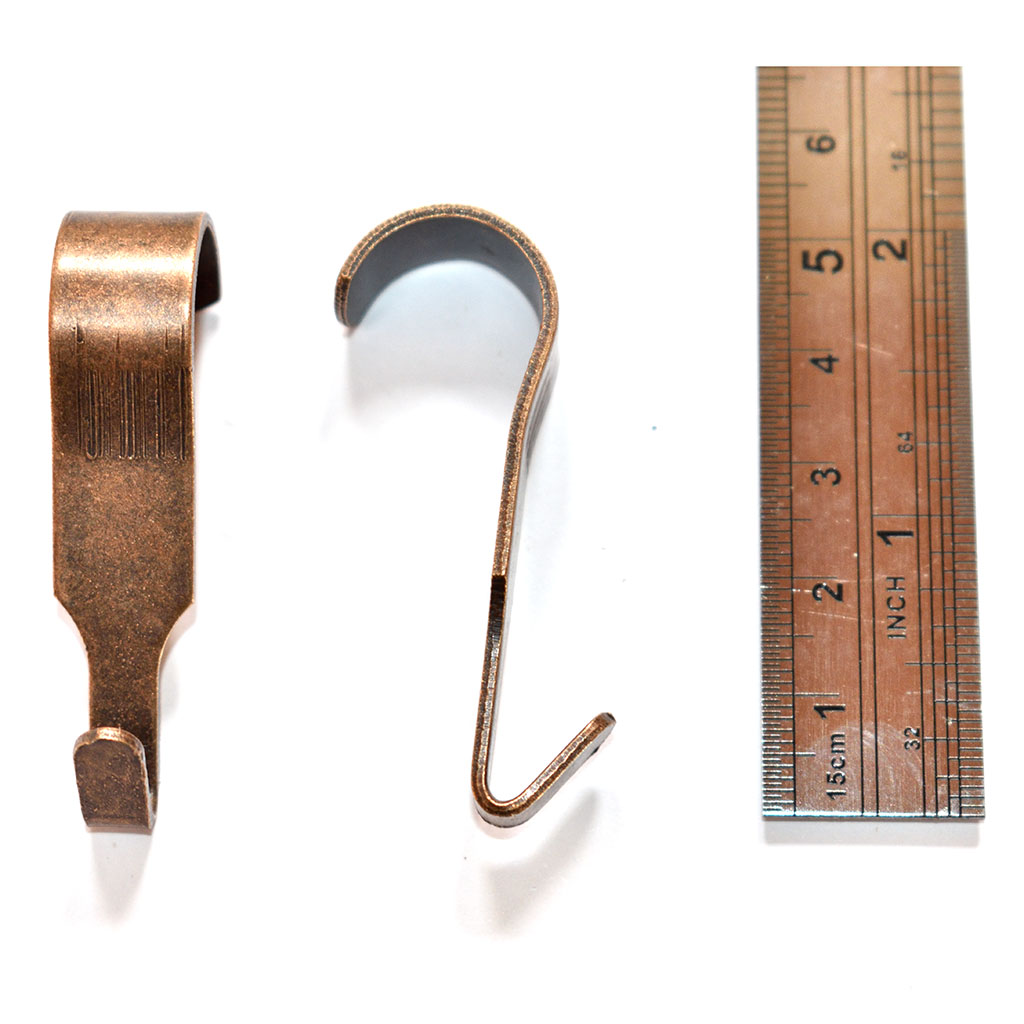
We have added sizings to our ever expanding range of picture rail hooks. We now have secondary images (shown below) that show side profiles pictured with a rule measure beside them for clarity. Hopefully this aids your decision about the correct style for your picture rail as there are many different sizes and profiles out there.
We also have a new ‘X’ Nickel Plated Picture Rail Hook with a longer drop that is the same size as the popular ‘X’ solid brass picture rail hook.
 This how to guide shows how you seal and finish the back of a picture or photo frame prior to hanging or selling.
The purpose of finishing the back of a frame is to –
The assumption in this article is that you already have a picture frame either custom made or pre-made with glazing, mount and backing board cut to size and attached. The backing board should also be able to provide some degree of moisture protection eg aqua board or similar.
Equipment Required –
The methodology for finishing the back of a picture frame is as follows –
Step 1 :
Secure the backing board, mount, artwork, and glazing ‘sandwich’ in to frame rebate with flexi points, semi rigid points or other similar framer’s points and tabs. these can be fired in with a tab gun or manually pushed in.
Step 2 :
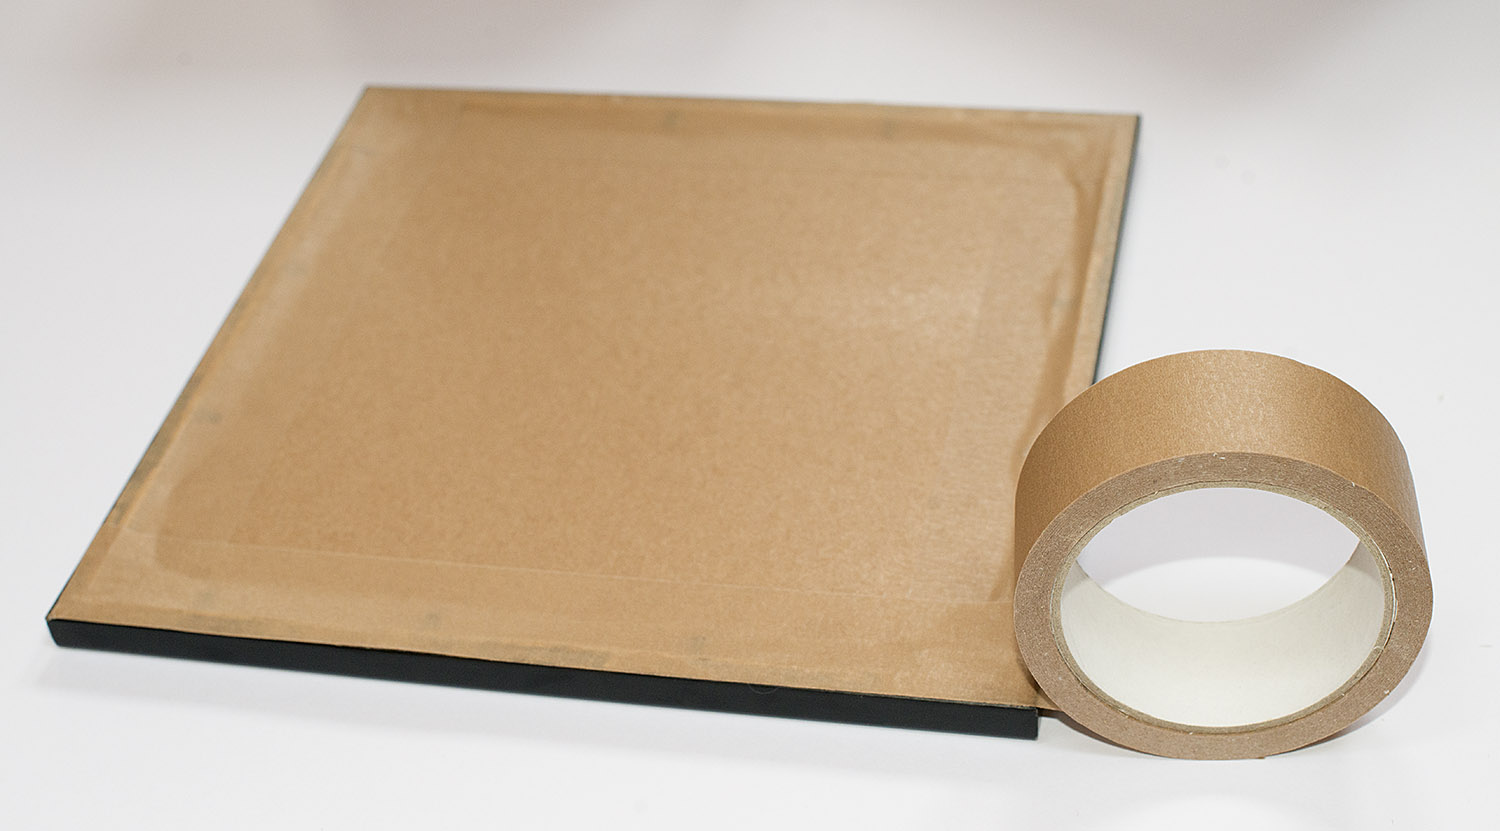
Use a picture frame backing tape like self adhesive ECO-15 or ECo-25 tape on each edge to make the dust seal. Trim the tape with a craft knife after completing each side, being careful not to damage the side of the frame.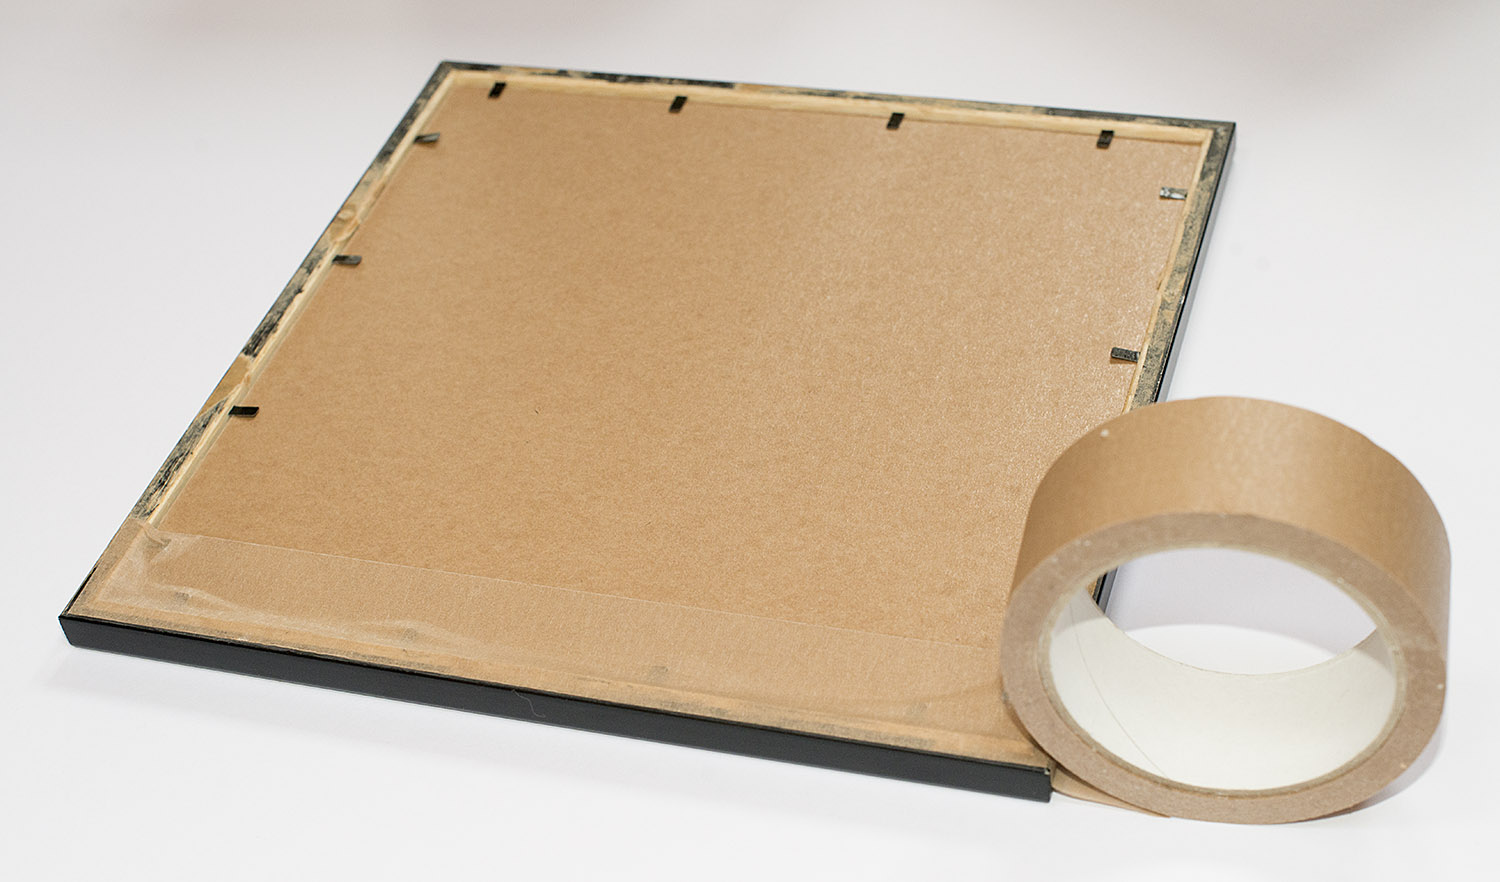 After taping and trimming the tape edge on all four edges it should look like this –
Step 3 :
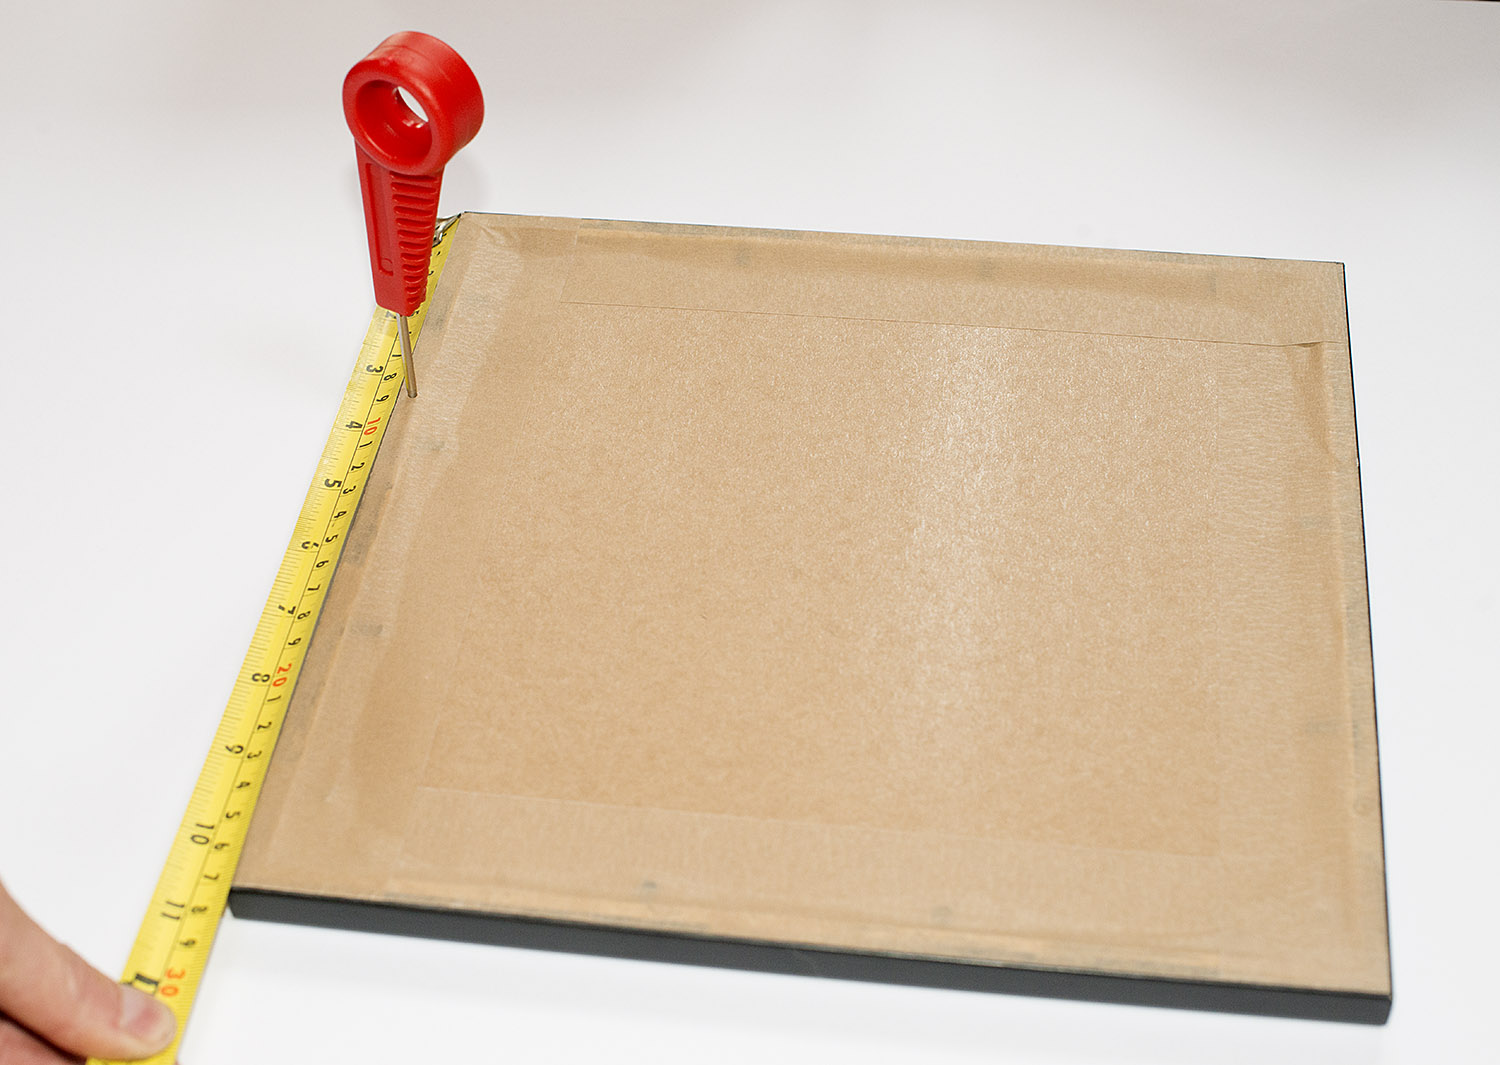
Measure the sides of the frame 1/3 of the way down from top edge, mark with a pencil or bradawl, then create a shallow starting hole in the frame with the bradawl. Repeat on other side of frame so you have two matching holes for starting a screw thread on each side of the frame moulding.
Step 4 :
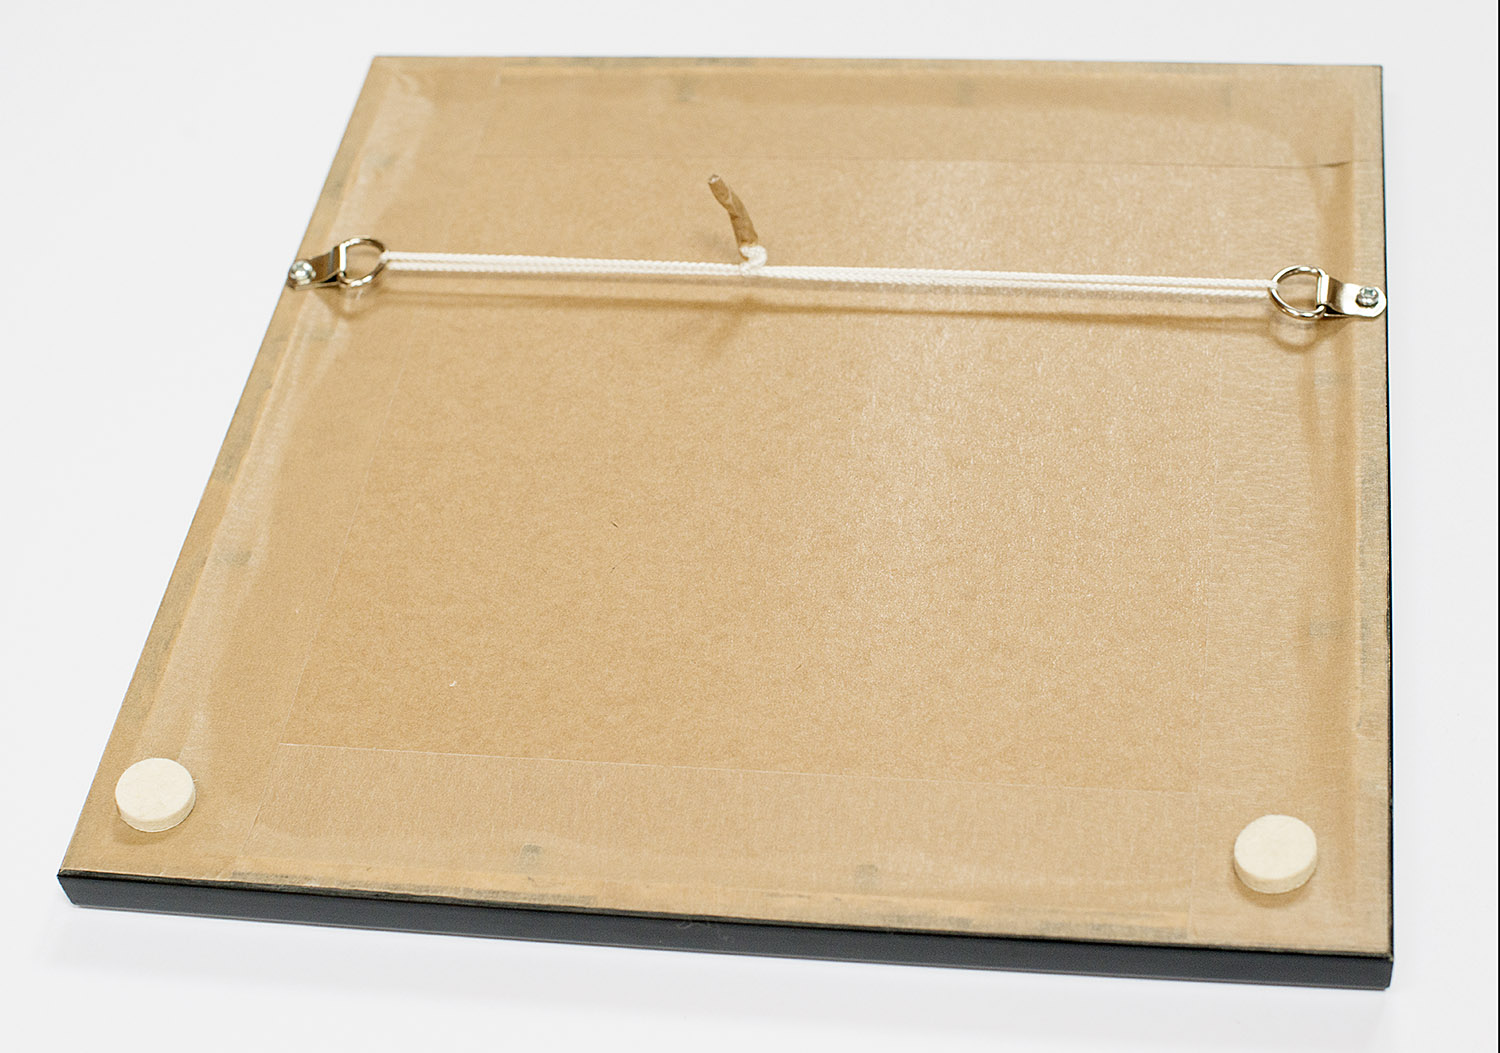
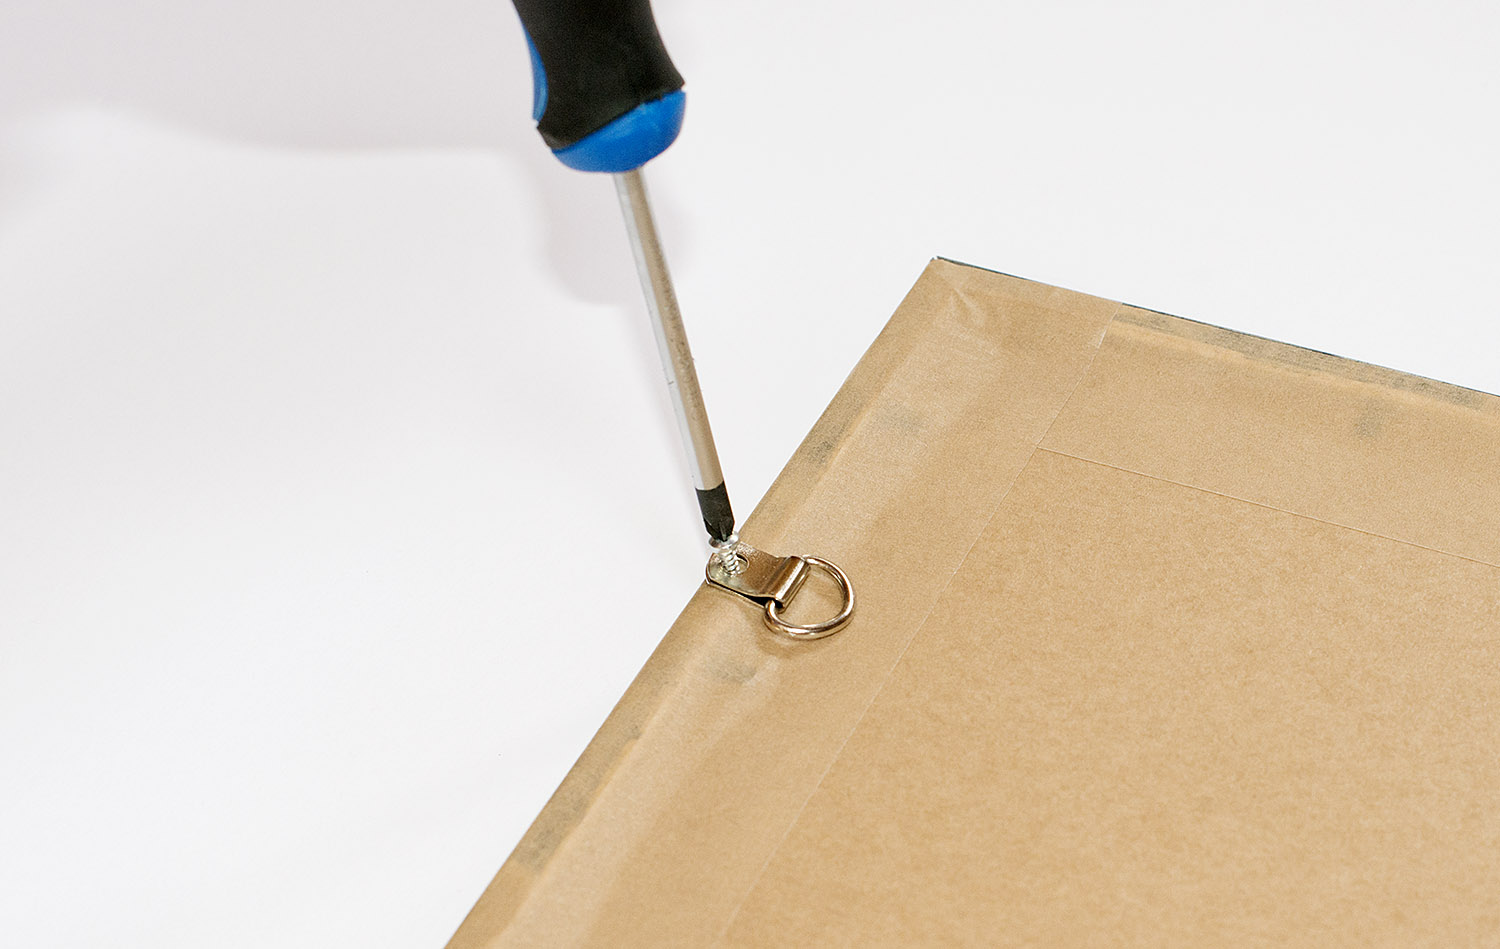
Attach a D-Ring to each side of the frame using a pan headed screw to hole it in place.
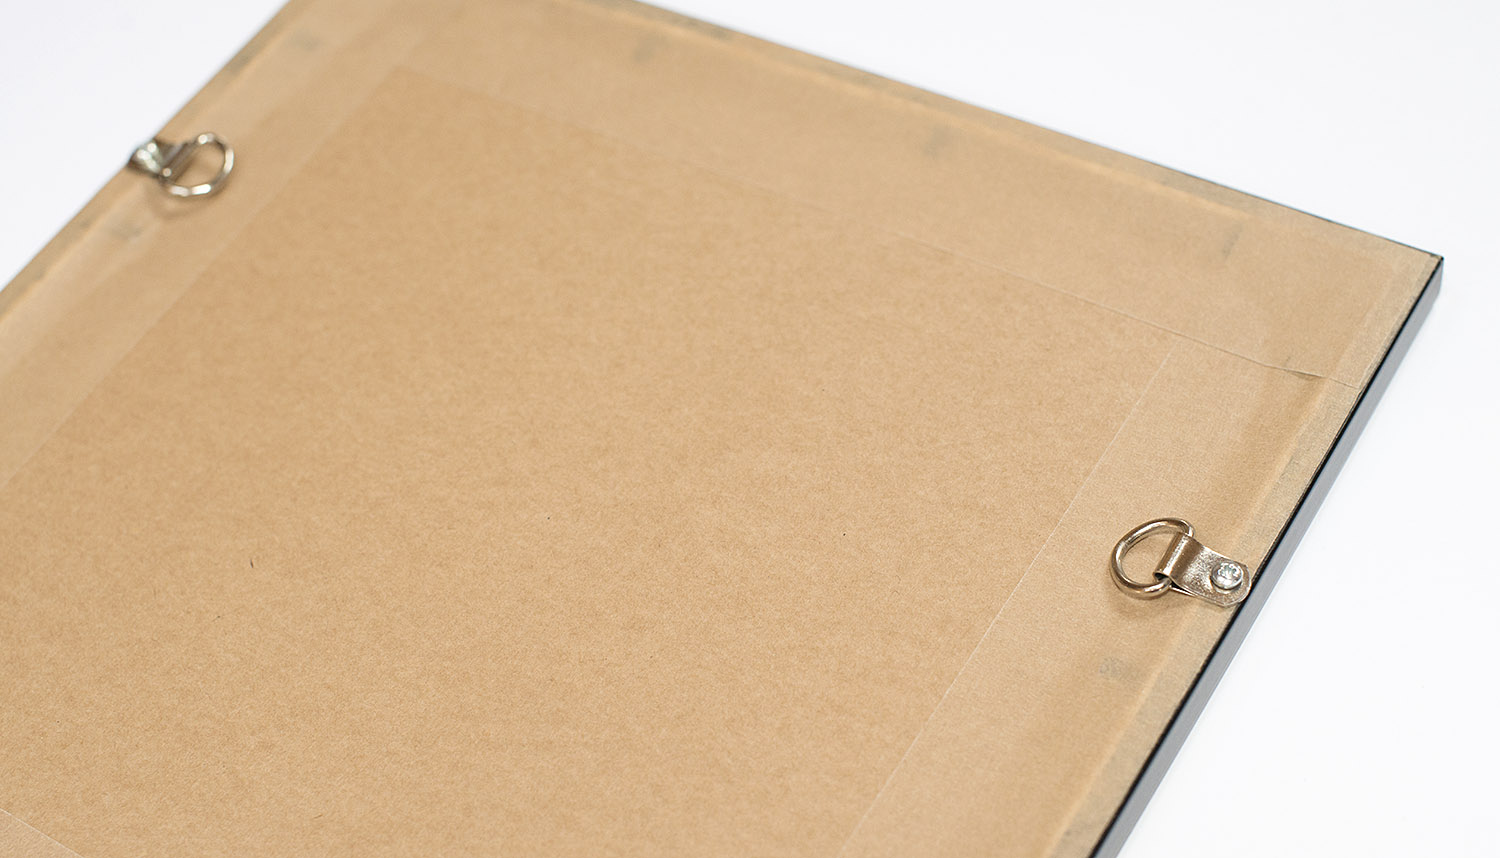
The frame should now be ready to attach picture cord or wire.
Step 5 : Attach cord to each d-ring and secure in place by use of a knot. Preferably one that tightens on itself under tension. Details of one picture framing knot can be found in this article.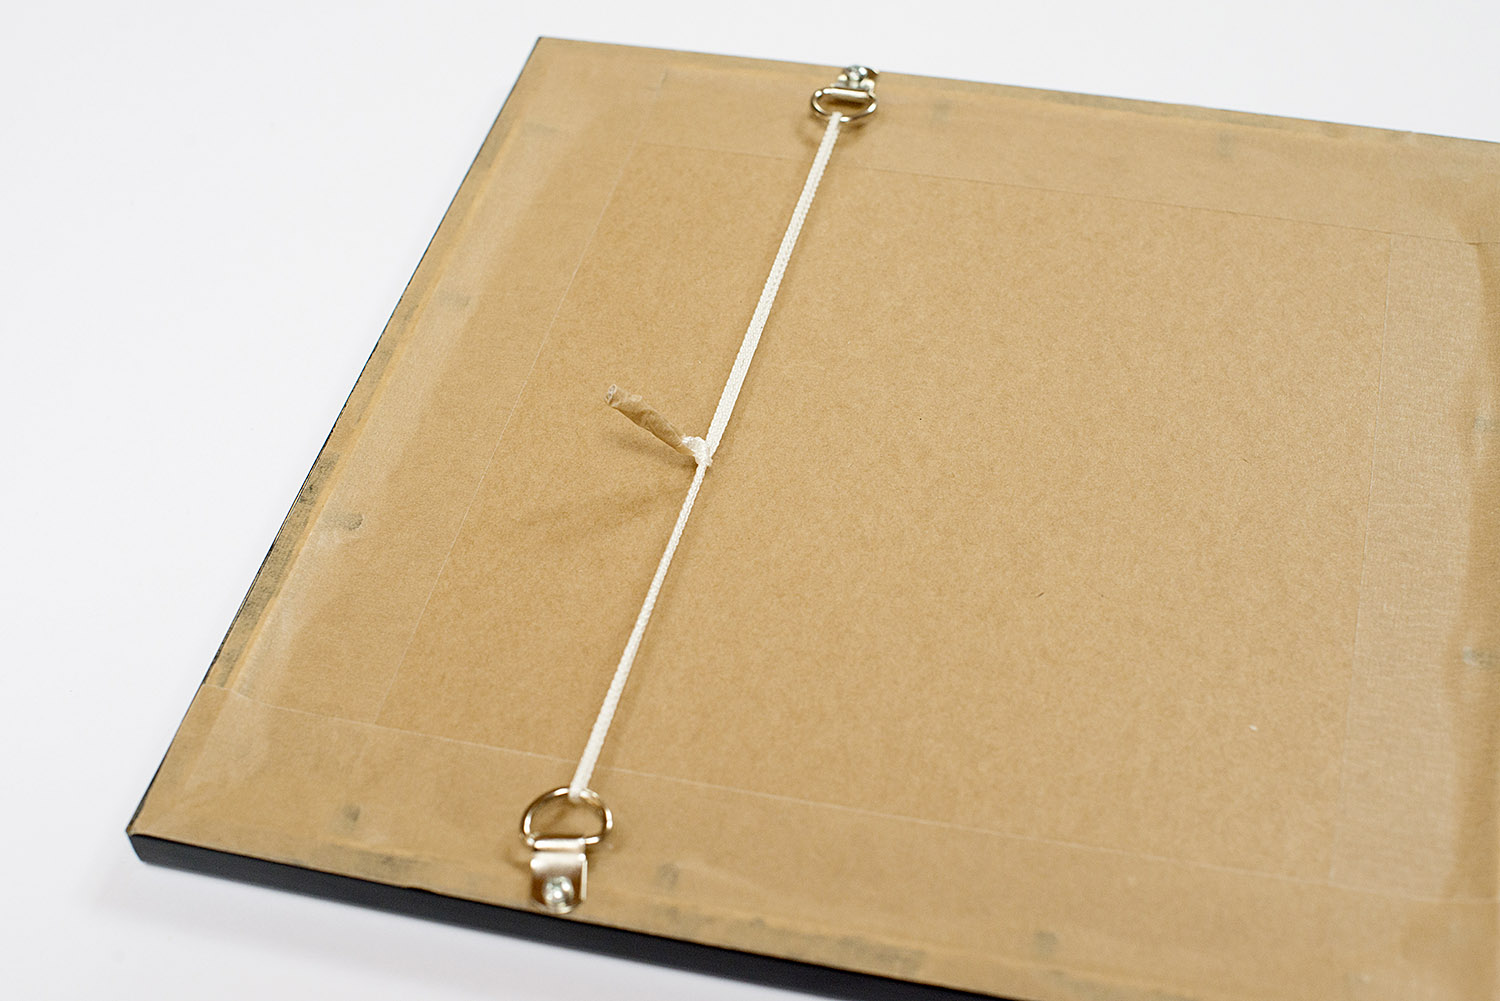
Step 6: Attach two felt or other similar bumper pads to each lower corner of the frame. This will help stop the frame moving on the wall as well as help prevent the frame from marking the wall. It will also create an air gap and allow air to circulate behind the frame.
The picture frame backing process is complete and it’s time to hang your picture on the wall!
A commonly asked question is what picture cord knot works best for hanging a picture frame? To answer this we first have to ask what are the desirable features of a picture cord knot?
The following are some desirable features of a picture knot –
Sagging can be minimised by using low stretch picture cord, you can then decide on the choice of knot.
One knot that meets the above criteria can be achieved as follows –
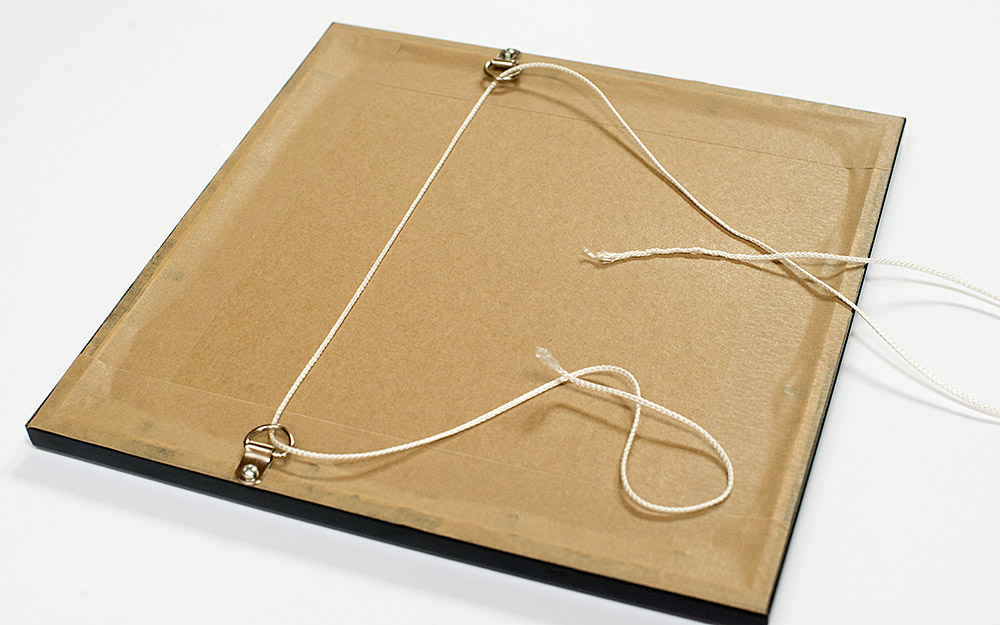
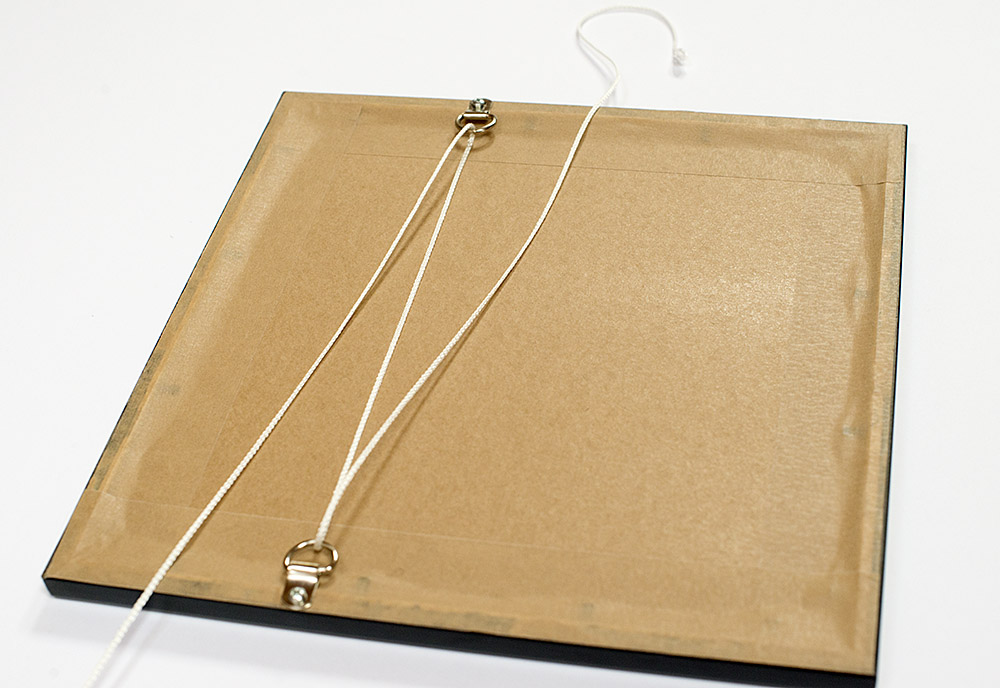
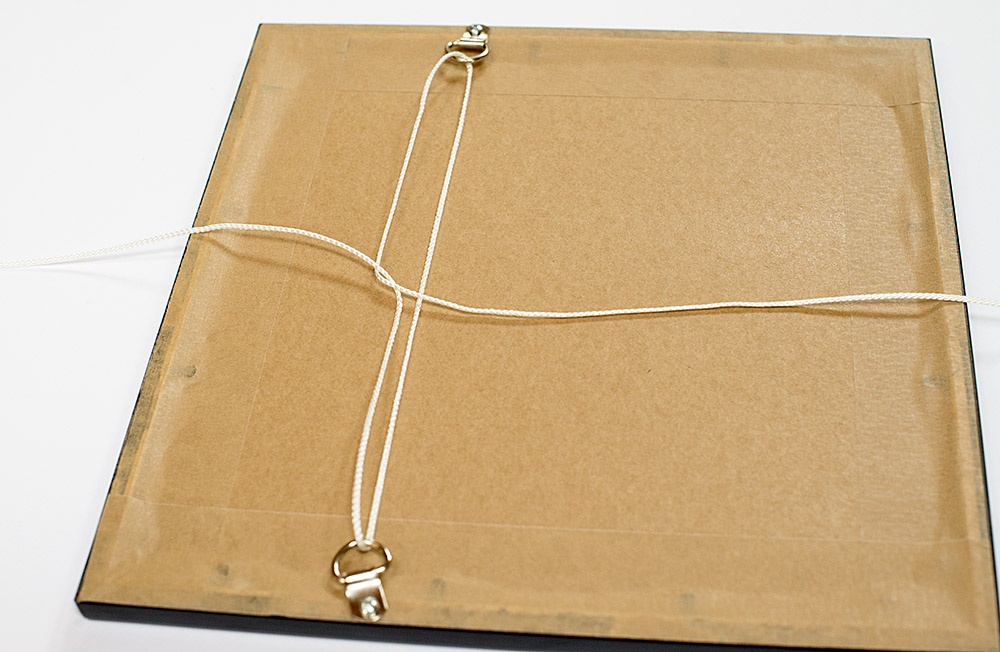
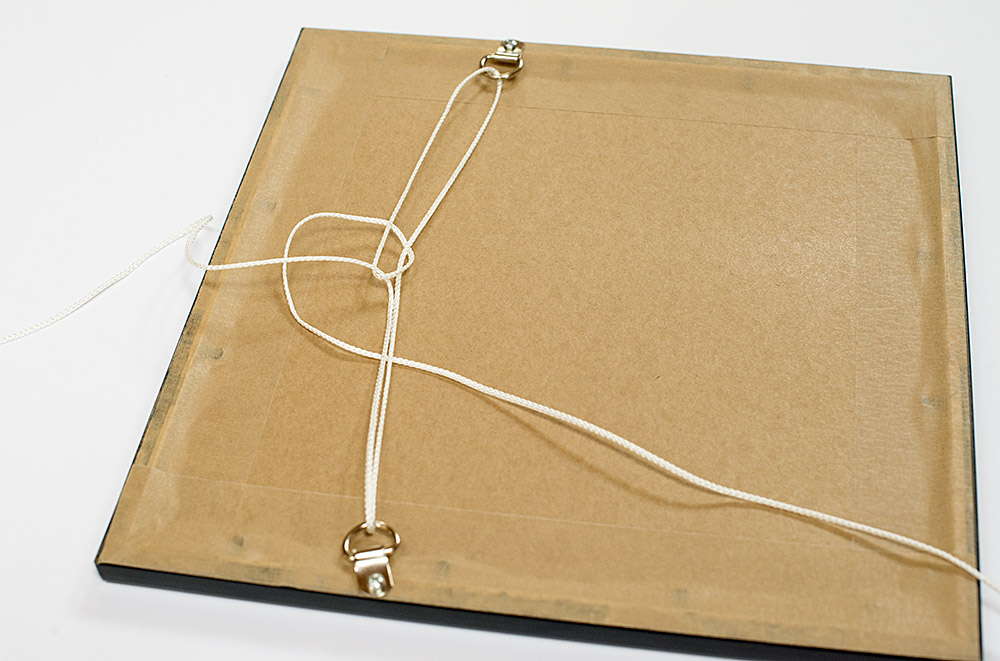
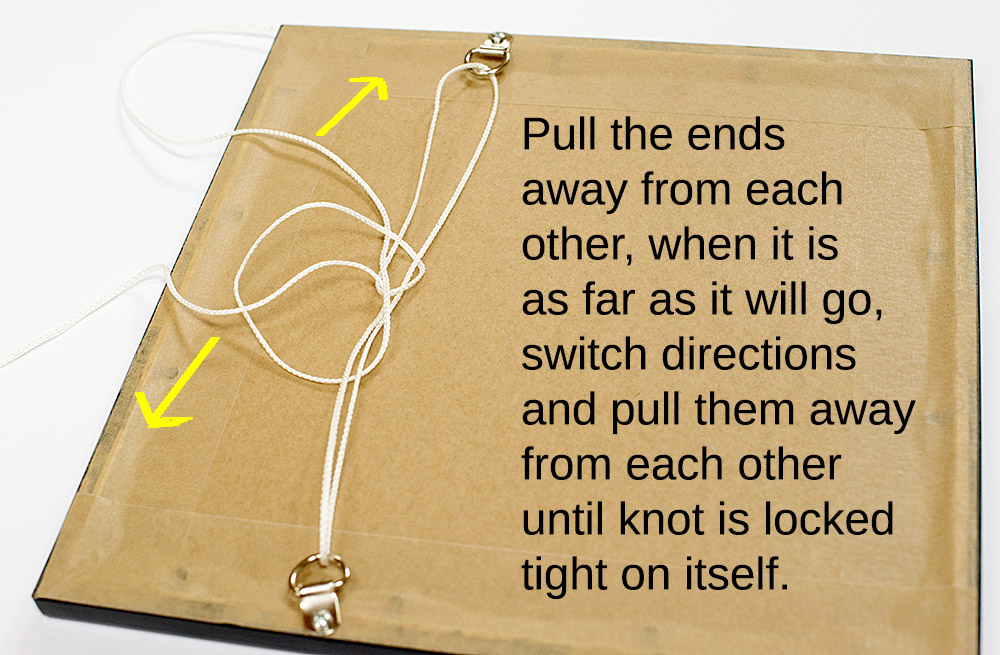
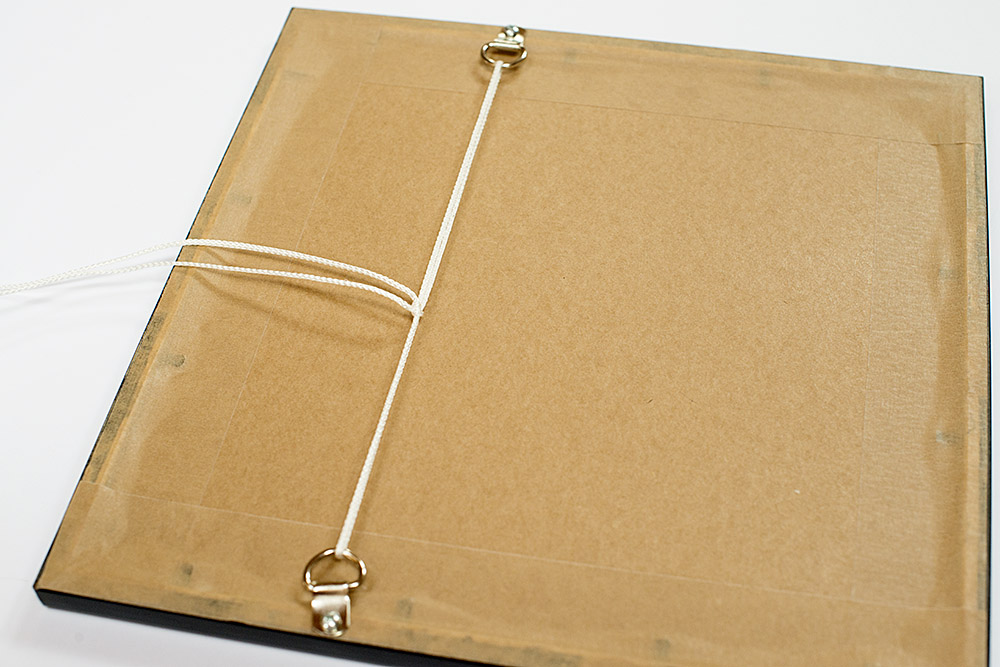
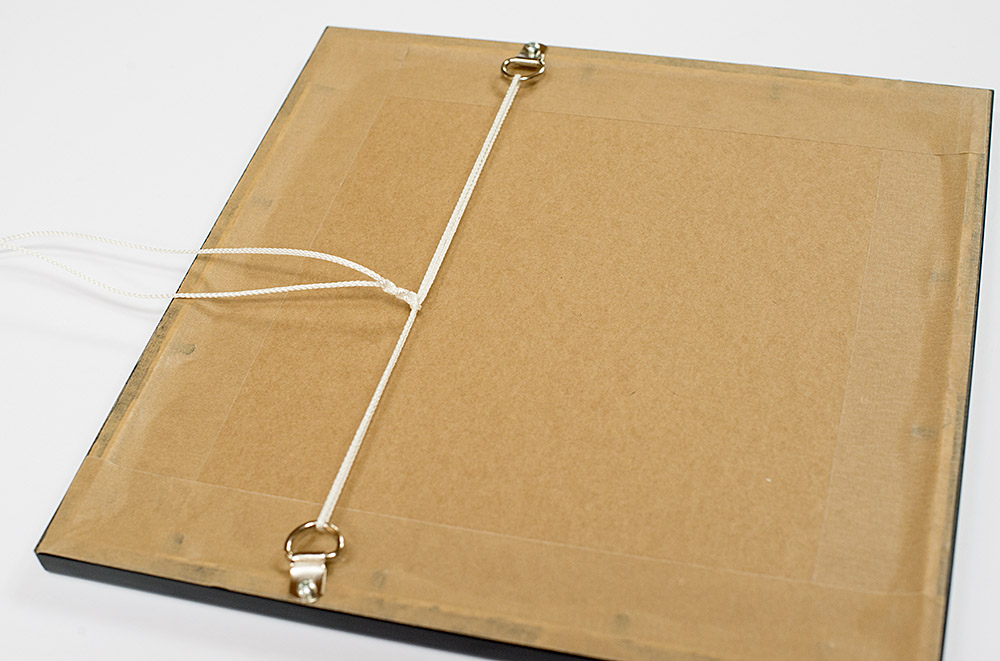
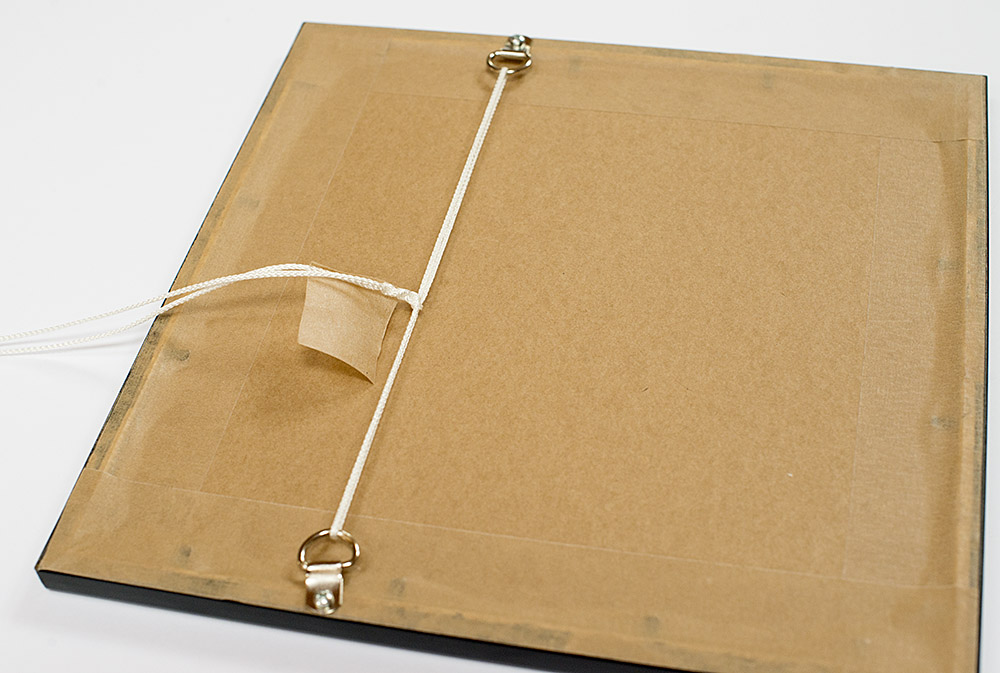
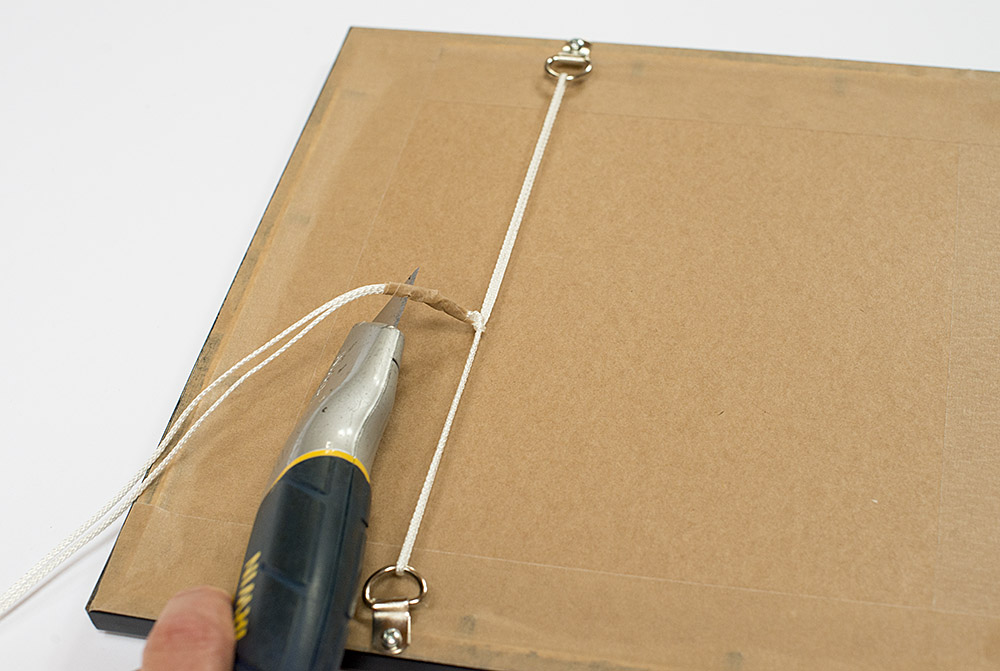
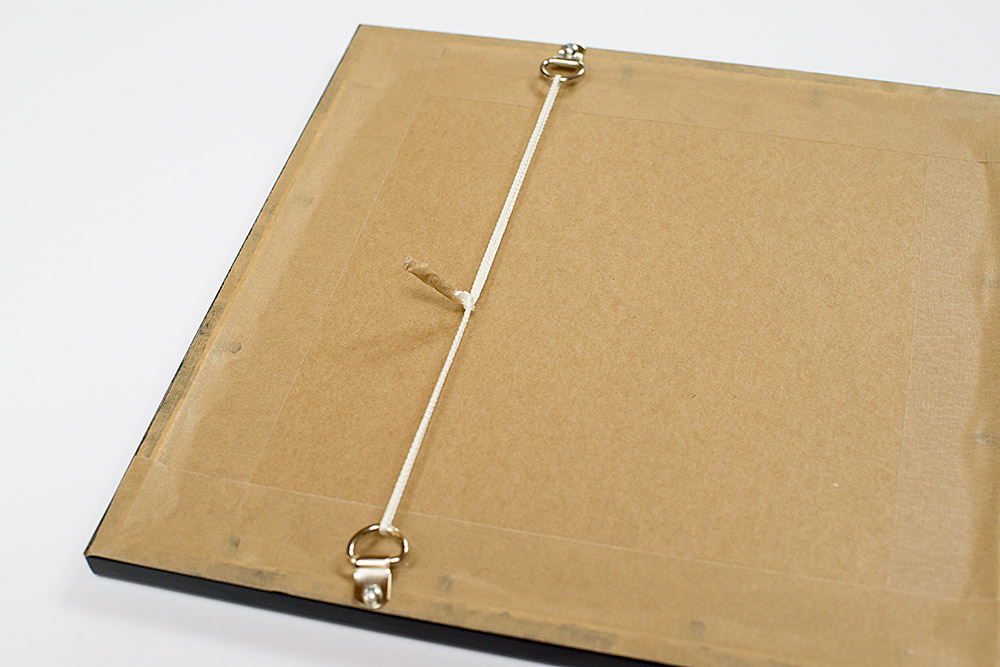
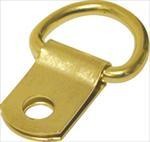 Pictures are most commonly hung using a pair of D-Rings screwed onto the back of the each side of wooden (or plastic) picture frame. They provide attachment point loops that picture cord or wire can be then be strung between. The cord or wire can then be used to hang the frame from a picture hook (nail, screw or similar) that is attached to the wall.
Single hole D-Rings are the most basic form of hardware for this purpose. They are useful for most frames up to about 0.5m wide. Wider than 0.5m but < 1m or when using a heavier frame/moulding, then double D-Rings are advised, they are more robust than single D-Rings and have two screw holes.
The Procedure for attaching D-Rings to a picture frame –
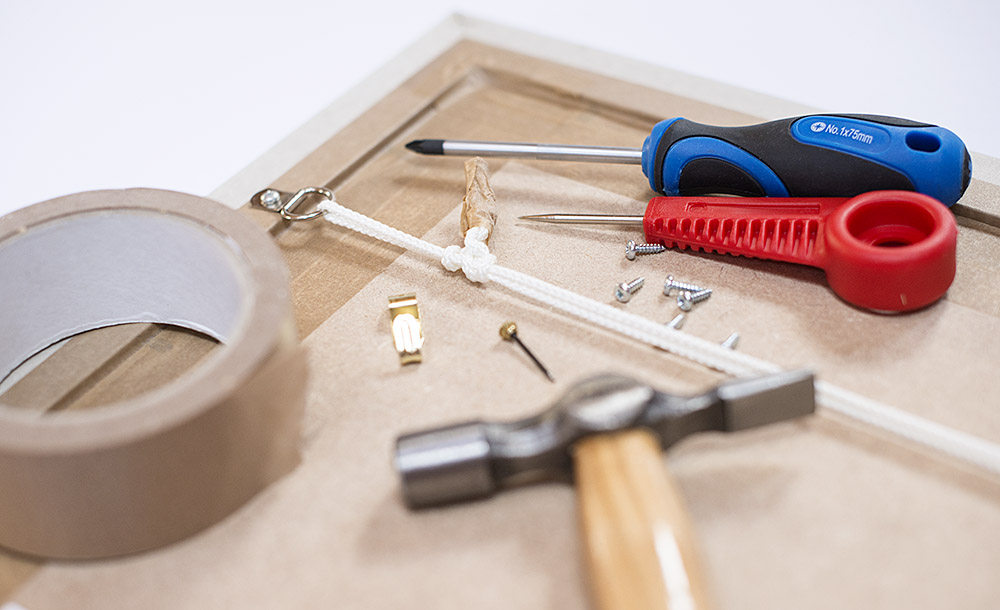 Hardware required –
Procedure
We are now stocking a quality ‘X’ Picture Hook range. The hooks are a strong grade steel, brass plated, and come supplied with quality knurled brass headed hardened pins. They come in four sizes –
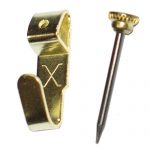 |
X Picture Hooks No.1 (single pin) |
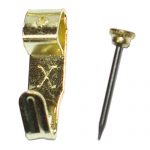 |
X Picture Hooks No.2 (single pin) |
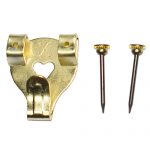 |
X Picture Hooks No.3 (two pin) |
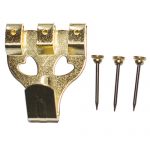 |
X Picture Hooks No.4 (three pin) |
We have pack sizes ranging from 2 to 100 hooks per pack.
The following link shows our full range of Picture Hooks
Website Redesign (2017)
Ten years on from starting our e-commerce site in 2007 and we find that the way people access the internet has evolved with many (if not the majority) now using mobile devices (smart phones, ipads, tablets etc). We have released a newly redesigned website along with new branding to reflect this change. It has a more modern look, easier navigation and includes both mobile and desktop versions which are designed with user experience on touch screen devices in mind. We hope you like the changes and hope they help with your shopping experience.